Introduction
Hi guys, I am Shank (Sangar), a Microsoft Student Intern from NTU. I am also a hobbyist Windows Phone 7 developer having developed apps such as ‘NewsSG’ and ‘SG Elections’.
I was recently arrowed tasked by Chris Ismael to explore the Windows Phone Mango SDK and come up with tutorials that would help you guys, build apps that capitalize on the new APIs. (alright, i confess… he was making me do this as he was lazy to learn it by himself)
One of the new features in Mango would be the ability to access the camera stream as well as sensors such as gyro sensor and compass. This post aims to serve as a rough guide as to how you guys, the developers, can get started in developing your very own Augmented Reality application for Windows Phone.
We would be exploring the development of Augmented Reality Application on Windows Phone this week, in a 4 part post/tutorial.
- Part 1: Setting up the Camera stream
- Part 2: Knowing the Device Attitude (Orientation)
- Part 3: Getting our data from Nimbus
- Part 4: Augmented our data to the camera stream
Prerequisites
- A Windows Machine with Windows Phone Developer Tools Installed (7.1 beta), downloadable from: [http://create.msdn.com]
- Basic knowledge in C#.NET or VB.NET programming language (we would be programming in c# in these tutorials)
- a pair of hands that can code :D
Development
There are 3 aspects to an augmented reality application, (a) the camera stream, (b) the motion/orientation/attitude of the device, (c) the data and (d) the augmentation in screen coordinates, with respect to the 3D/World space. We would be exploring (a) in this post. In the next post, we would explore some of the sensors that are available in Mango. After which we would side track and show how you could utilize public endpoints such as Project Nimbus for your data. In the final post i would explain how to augment your camera stream with your data.
Before starting this tutorial, i would assume you either have Visual Studio 2010 Express for Windows Phone installed, either by itself or by supplementing a regular version of Visual Studio 2010. You can start developing your Windows Phone applications by launching your visual studio installation.
(a) the Camera Stream
This tutorial demonstrates how to activate the camera stream and place it on the phone screen.
Start Visual Studio 2010 / Visual Studio 2010 Express for Windows Phone. There are multiple templates that are available. We will choose the basic one for this application: ‘Windows Phone Application’ and give your application a name. (If it prompts you, after pressing ok, on “which Windows Phone Platform you want to target for this application”, choose “Windows Phone 7.1”)
Go to the Design View of MainPage. Remove all the existing User elements in the design view such that there is only the “layoutroot” grid.
Set the page’s Supported Orientations to Landscape and Orientation to Landscape. Set the system tray visibility to false, This allows us to maximise the screen real estate. [cc lang=‘xml’ line_numbers=‘false’]SupportedOrientations=“Landscape” Orientation=“Landscape”[/cc]
Next, add a rectangle, of width 640 and height 480 to the layout root. Inside the rectangle, set the Fill property to “VideoBrush” type. Set its name to “ViewFinderBrush”:
<Rectangle.Fill> </Rectangle.Fill> Open the code view of the MainPage (MainPage.xaml.cs). You would only see the constructor of the MainPage.
add the using statement for “Microsoft.Devices” to the page, then declare a “PhotoCamera” variable. Name it “camera”[cc lang=‘csharp’ line_numbers=‘false’]using Microsoft.Devices;[/cc]
Next,
override the OnNavigatedTo event for the page
- Initialize the PhotoCamera variable, “camera” inside the OnNavigatedTo event
- Set the videobrush’s source to the camera. [cc lang=‘csharp’ line_numbers=‘false’]protected override void OnNavigatedTo(System.Windows.Navigation.NavigationEventArgs e) { camera = new PhotoCamera(); ViewFinderBrush.SetSource(camera); base.OnNavigatedTo(e); }[/cc]
Press “F5” to debug the application, set the device as the Windows Phone Emulator. You should see something like this, on the emulator and the phone, respectively:
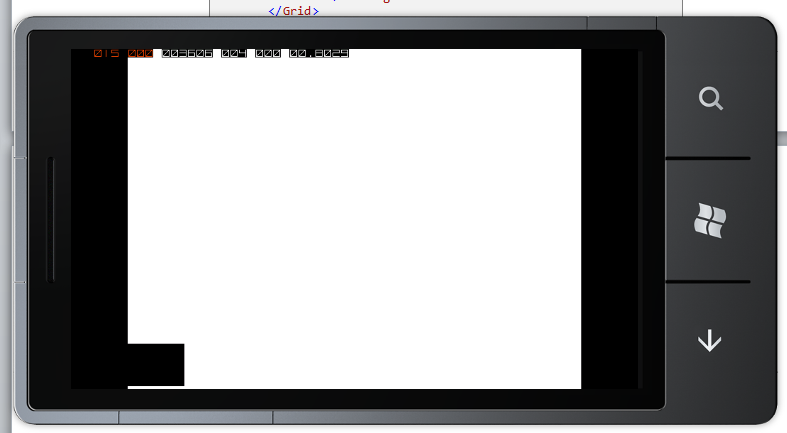
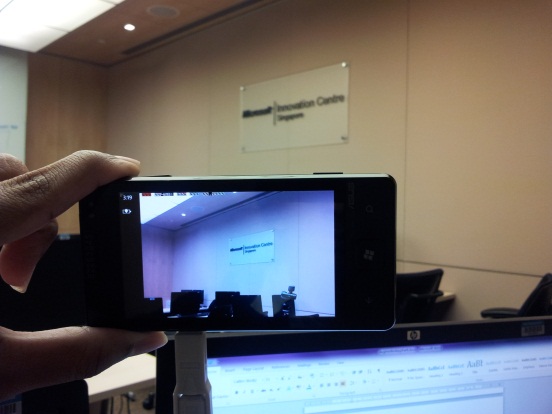
Ta Da…. You now have an application with the camera stream in your application.
You can download the source code from here
In the next post…
Now that you have your camera stream up and running, the next thing we have to do is to get the orientation/attitude of the phone. I
hope this post has made you enthused about developing an AR app already. In the next post, we would be exploring some of the sensors that are made available in the Mango release as well as what is referred to as the ‘Motion API’. Stay tuned…
Update: Click here for the 2nd part