Hi Folks, I am Milton Goh, this is my first post on Spiffy.SG and I am bringing to all of you a series of posts with regards to Team Foundation Server. The series will generally focus on how Team Foundation Server (TFS) can help your organization deliver software projects using the Agile methods and also cover on how you can maximize your investment in deploying TFS comparing with other tools available. So for the first post, I will be detailing out how to deploy Team Foundation Server 2012 with Update 2 (this was released recently with some minor refinements). However, that updates shouldn’t affect you if this is your first time deploying TFS. In most environment, we can just deploy Team Foundation Server as a stand-alone server that serves the Developers for them to perform the compiling of source code or to perform various testing against the code that are flagged as ready for review. However, I am going to stretch a little further this time round to include deploying of SharePoint Server 2013 in order to fully illustrate how the team members (regardless whether it is Project Manager/Developers) can make use of SharePoint Team Project Site to view the various updates such as Project Timeline, Current Build Status and Outstanding Issues. In my environment, I have built the following Virtual Machines running on Hyper-V. 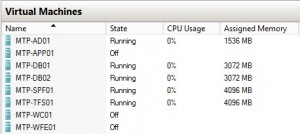 Based on the image attached above, I am setting up the environment based on the following,-
- MTP-AD01 is the domain controller in the organization with the domain (mtp.local)
- MTP-DB01 is the database that is primarily used by SharePoint Server 2013, MTP-SPF01
- MTP-DB02 is the database that is primarily used by Team Foundation Server 2012, MTP-TFS01
- MTP-WFE01, MTP-APP01 is to simulate the three-tier topology along with either MTP-DB01 or MTP-DB02
- MTP-WC01 is the client computer to simulate testing and/or installing of Development Tools such as Visual Studio 2012
So let’s get started with the various setup! Step 1 - Installation of SharePoint  For this post, I am not going to focus on the installation of SharePoint Server 2013. There are many to-do guide on how to install a SharePoint Server environment. However, you may want to use this guide as reference. Step 2 - Installation of SQL Server 2012 for Team Foundation Server 2012 Same goes to the SQL Server 2012, there are tons of to-do guides out there online which you can pick it up. However, some pointers to take note during the installation of the SQL Server 2012. Required Features
- Database Engine Service
- Full Text and Semantic Extractions for Search
- Analysis Service
- Reporting Service - Native
- Reporting Service Add-in for SharePoint Product
- Management Tools - Basic
- Management Tools - Complete
There are a couple of dos and don’t. However, I would recommend sticking to the above Required Features as that is required for the kind of configuration we want to achieve. Collation Extremely important! Please ensure that the collations are set to Case Insensitive, Accent Sensitive and not Binary. Step 3 - Installation of Team Foundation Server 2012 1) Insert the media into the server or attached the ISO to the Hyper-V console. 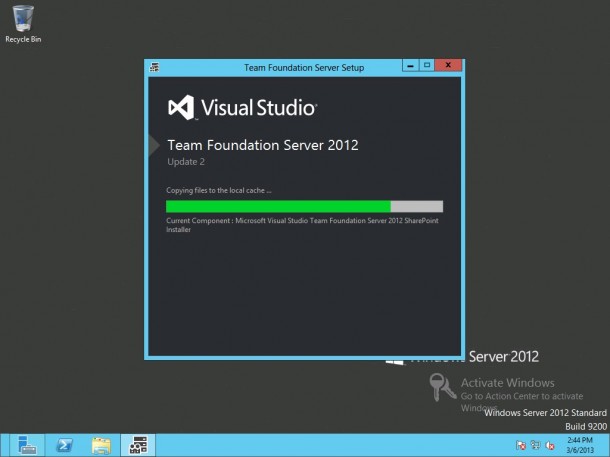 2) For demo purposes, I selected “Trial” version. If you have the license key, enter it here.
 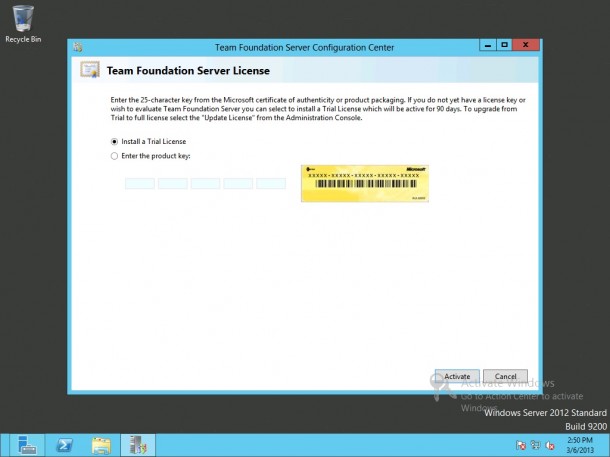 If you installed as the trial version, you will have 91 days to meddle around with the software. This should be more than enough to setup the whole farm for testing purposes.
 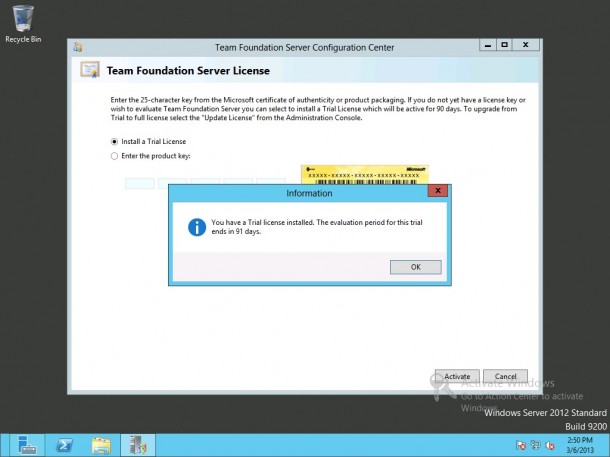 3) Configuring Team Foundation Server 2012 by selecting “Advanced” and click “Next”.
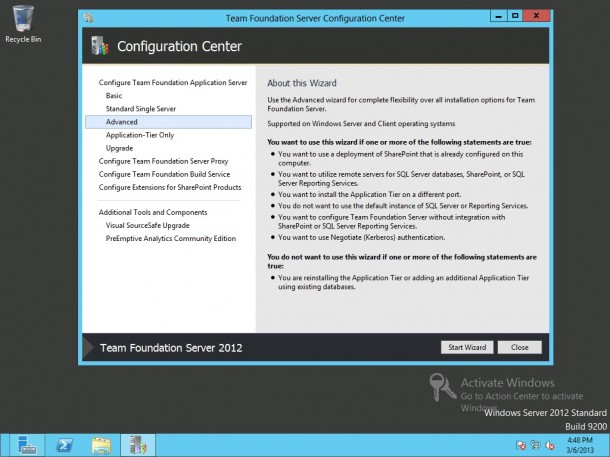
 4) It’s highly recommended to click on the “Test” after entering the SQL Server instance to ensure things are on the right track. If things are OK, the “green tick” will appear as shown below.
 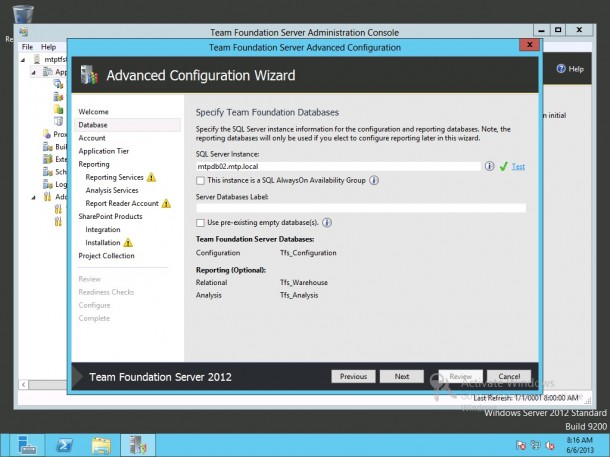 5) Provide the credential for Team Foundation Server 2012 to provision the service, take note of the account used here so should you require to scale your Team Foundation Server Farm, you will have to provide the same credentials to access the SQL Server and necessary configuration. For our testing purposes, I am going to use the default Administrator account. However, for highly secure environment, it is recommended to create service account and accounts with the least permission rights.
 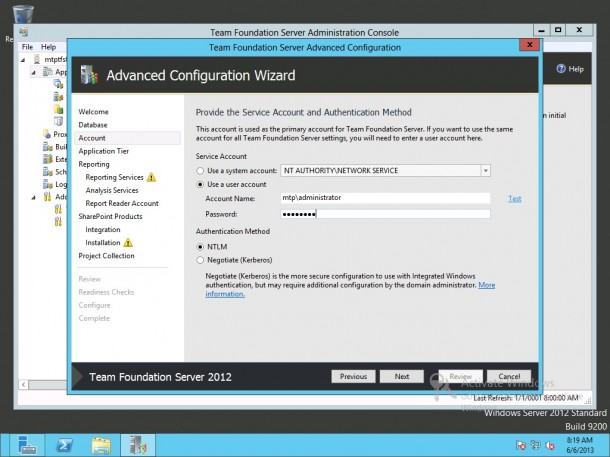 6) Modify the details for the Team Foundation Server site and IIS Virtual Directory - For this, I am leaving it as per default.
 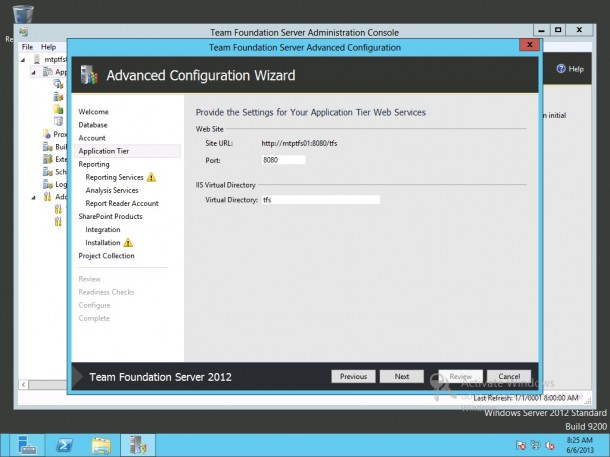 7) Configuring Reporting for Team Foundation Server - Yes! Definitely, I am a guy who cater for both Developers and Project Managers.
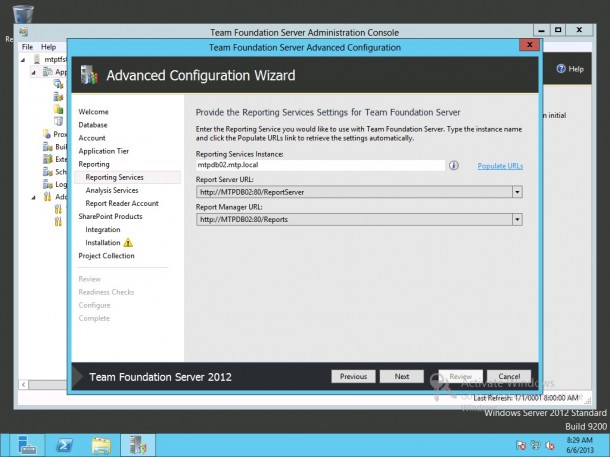
 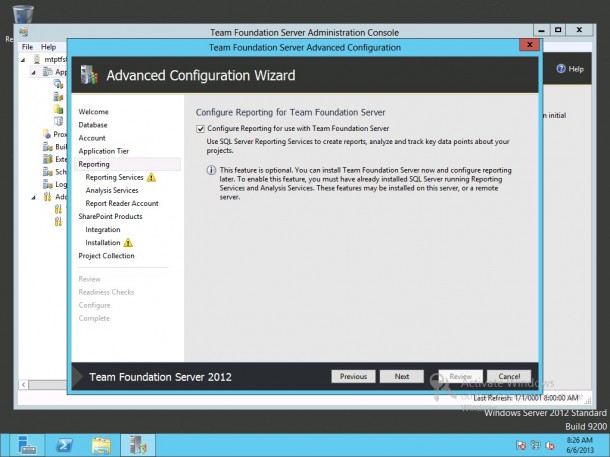 8) Provide the Reporting Services Settings for Team Foundation Server - Note that this portion, Team Foundation Server will always assume that the SQL Server sits on the same server. Therefore, the TFS hostname will always appear first. However, just do a switch and click on “Populate URLs” and it will poll for the information from the SQL Server.
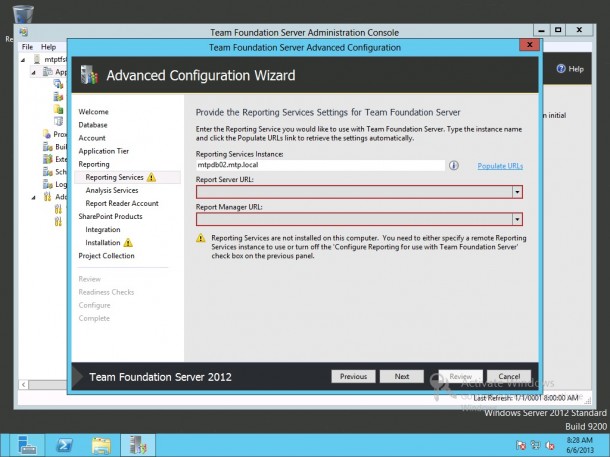
 9) Provide Analysis Service Settings for Team Foundation Server - Proceed as per default since the information still follow the same as the main database server. As usual, if your Analysis Service does not host on the same server as per your main database, then you are recommended to click on the “Test” link to ensure things are moving smoothly.
 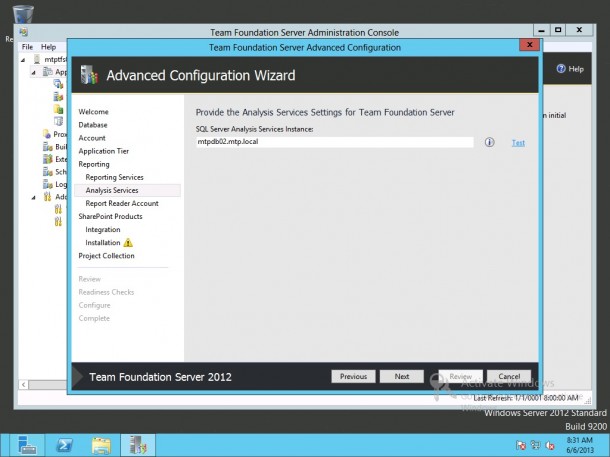 10) Provide the Account that Reports will Run as - Personally, I stick back to using SQL_REPORTS where it is running all my SQL Reporting. Feel free to use other account as well.
 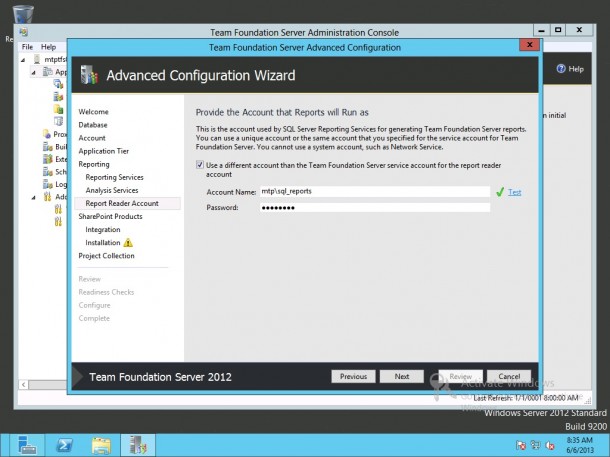 11) Configure SharePoint Products for Use with Team Foundation Server - Take serious note here! READ! If you were to keep this checkbox checked, then you will end up getting one more instance of SharePoint Foundation running in your environment and it will install itself on the same server TFS is! Ask me why SharePoint 2013 isn’t available? It’s because at the point of release, SharePoint Server 2013 / SharePoint Foundation 2013 has not reached its General Availability (GA) thus it is not catered for. However, stay tuned for the upcoming launch of Team Foundation Server 2013! So until then, I will keep this checkbox unchecked and do some manual work.
 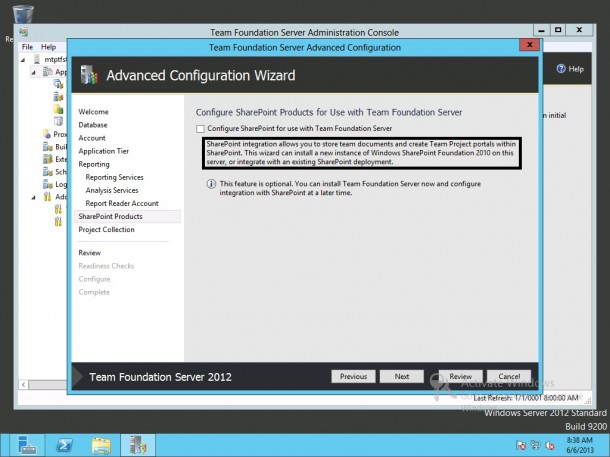 12) Provide the settings your would like to use for your initial Team Project Collection - The only thing I modify was the name of the new site collection because I am just not OK with the default.
 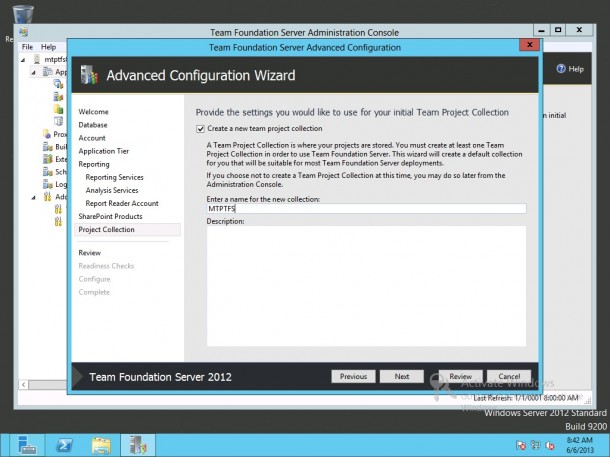 13) After some whooping entering of information, we are almost there! Review of the information entered so far. Click on the “Verify” button and make sure things are going fine!
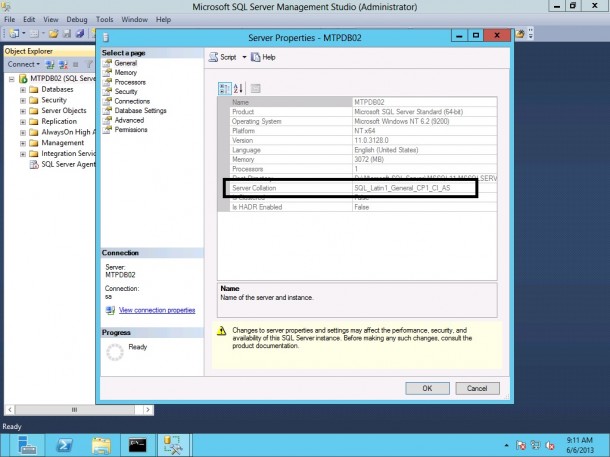
 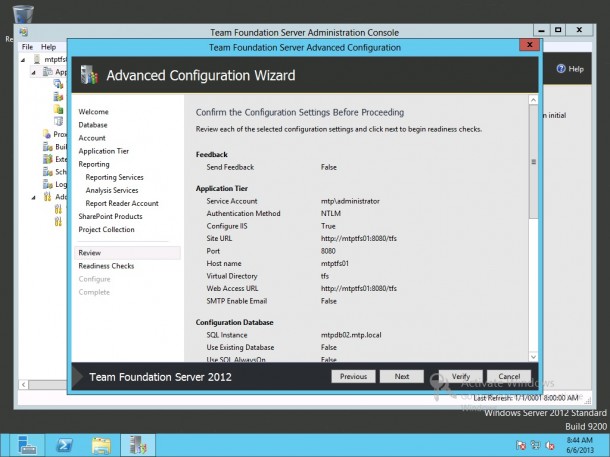 14) An example of verification failure is as followed - Shouting out to me that my SQL Server Collation is wrong! So I will have to rectify the errors stated and click on the “Click here to rerun Readiness Checks”.
 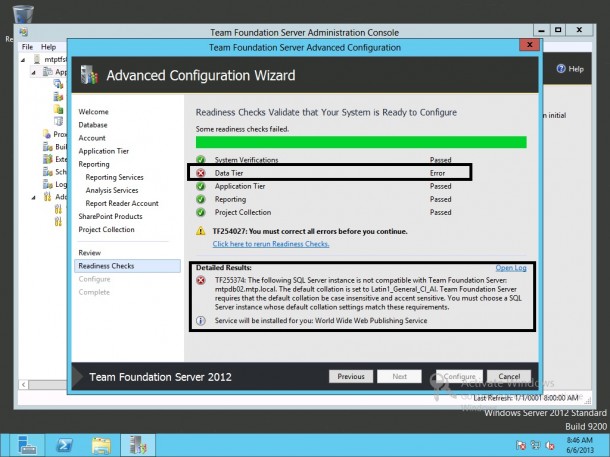 15) With regards to the above mentioned, I did the following to rectify the error and changing the SQL Collation. However, do take note that you will need to export your database somewhere before proceeding, it is something worth making backup or performing snapshot in Hyper-V in case anything happen! Refer to the following site I used - http://msdn.microsoft.com/en-us/library/ms179254.aspx
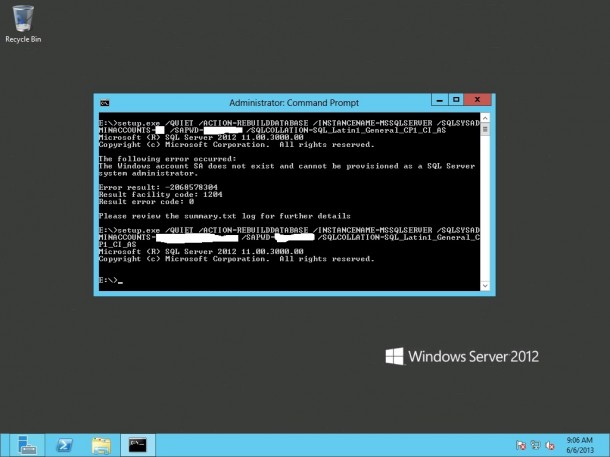
 16) Readiness Checks Passed! Click “Configure” to proceed.
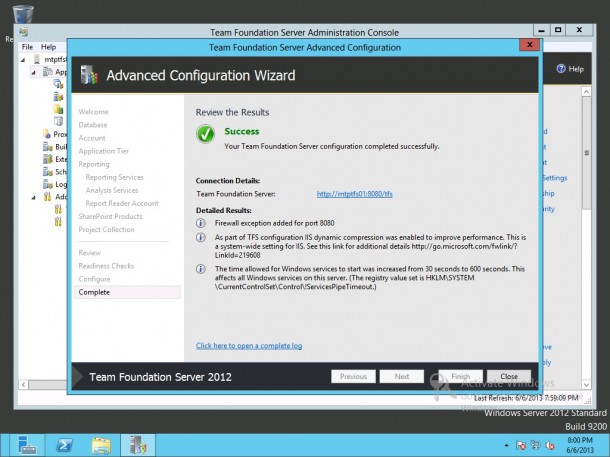
  17) Configuration Completed, click “Next” and you are presented with the link to Team Foundation Site that is created. Do take note of the description shown on the 2nd image below such as Firewall Port to be added to the exception list.
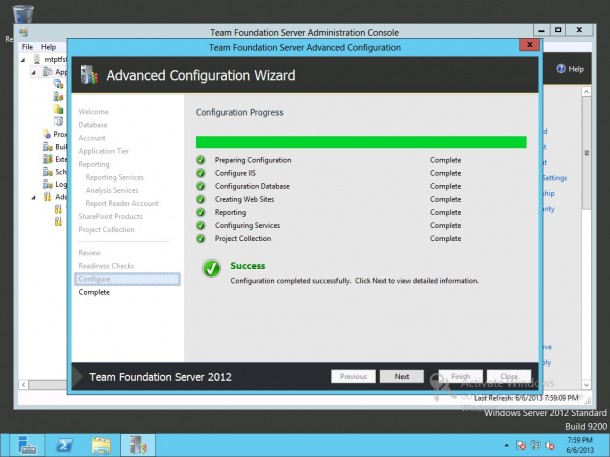
 18) Launch the site by clicking on the link as shown and you will be presented with the Team Foundation Server portal.
 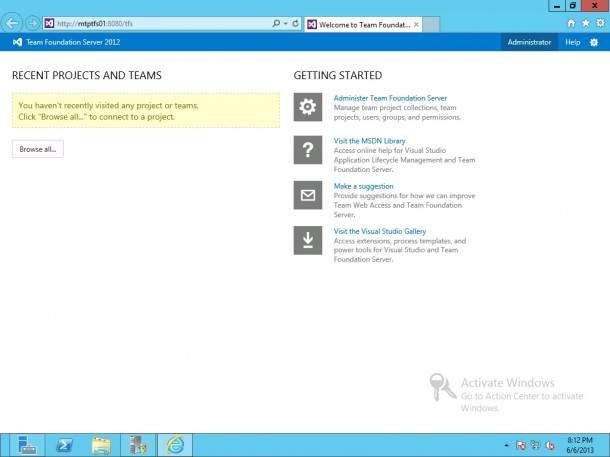 In the next post, I will continue with the configuration of SharePoint Server 2013 to create a project template for Team Foundation Server. Cheers, Milton Goh