Hi, this is the part two of the series of articles on Team Foundation Server 2012 and for today article, I am going to walk through the configuration of SharePoint 2013 to allow communication between the Team Foundation Server 2012 with SharePoint. During which, new SharePoint site will be created with the Team Foundation Project Template. So to recap from where we are previously, we have the following SharePoint Server installed (in my case, it is MTP-SPF01) and see the image showing the Central Administration of SharePoint Server 2013. 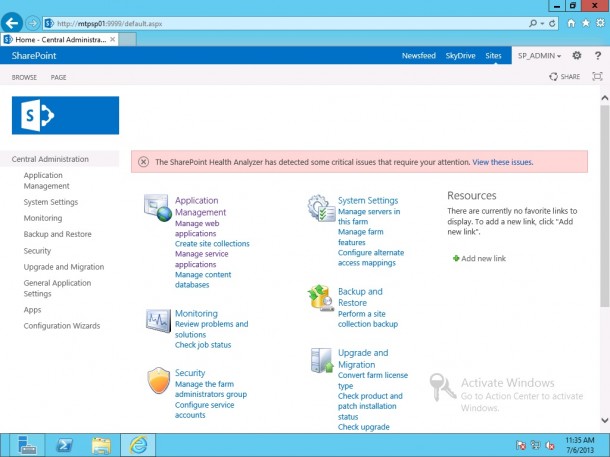 In order for SharePoint to be able to communicate with the Team Foundation Server, it is a requirements to install the Team Foundation Server extension on every Web-Front End SharePoint Server. So if your intranet environment have a huge SharePoint farm that span across multiple Web-Front Ends, please install the Team Foundation Server Extension on EACH and EVERY Web-Front End. Step 1 - Installation of Team Foundation Server Extensions 1) Insert the ISO image / CD / DVD that you have used to installed Team Foundation Server 2012 into any of the SharePoint Web-Front End that you wish to install the extension.
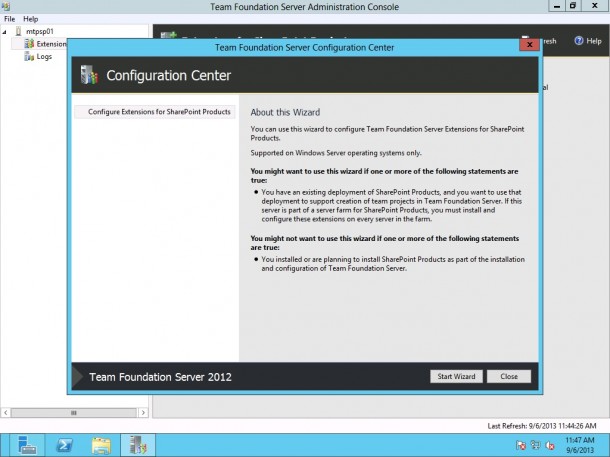
 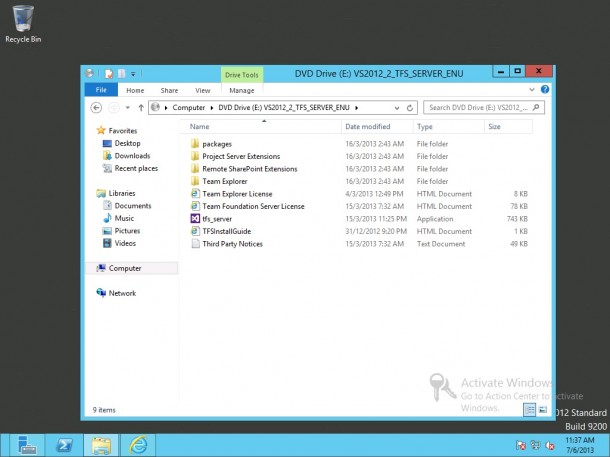 2) This installation guide is rather simple, just follow through…
 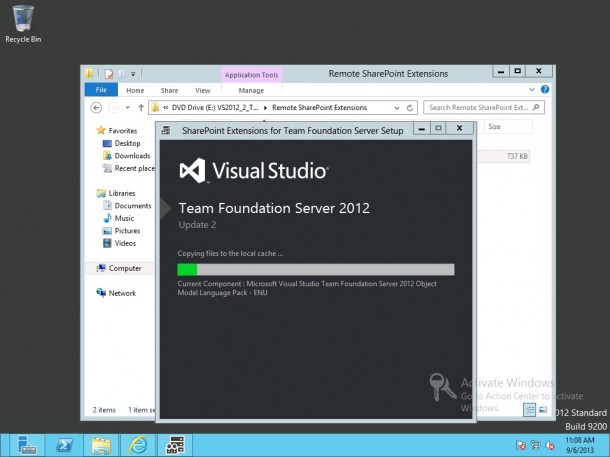 3) Click on “Start Wizard”
 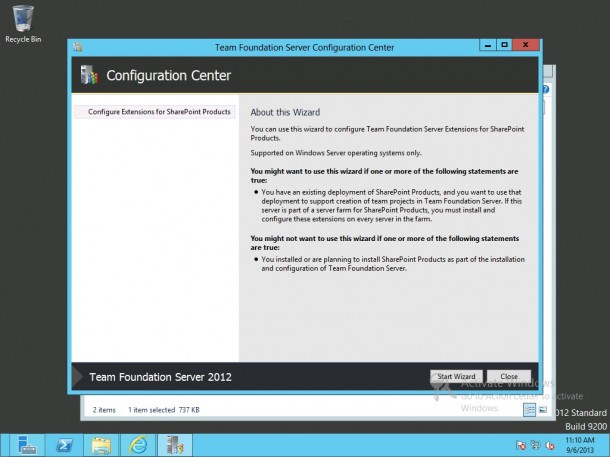 4) Click “Next” on the following page, it works the same as “Review”.
 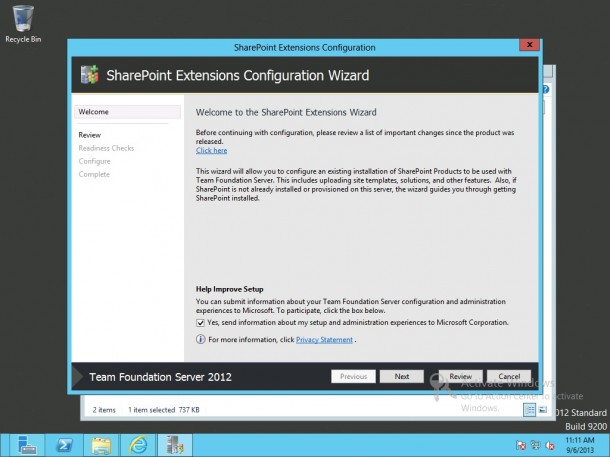 5) Once review has completed, click “Next” to kick-start the Validation process
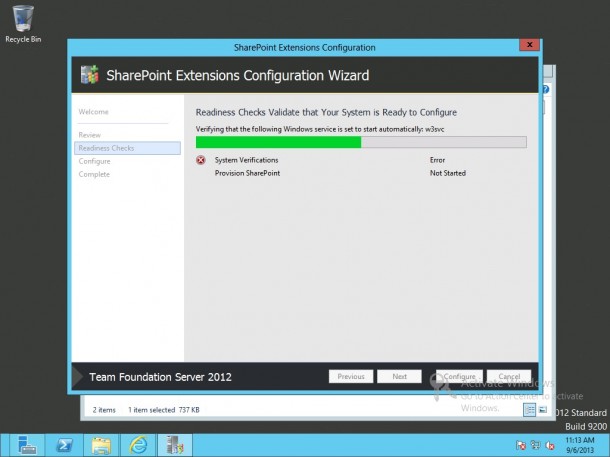 6) **ERROR** Occur –> Why? and How? Read, it just require a reboot after installation. Well, this should have been placed in the setup guide before configuration starts.
 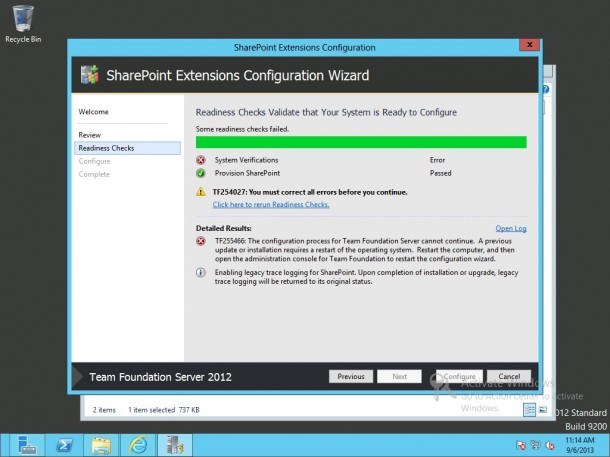 7) Restart the configuration of the extensions
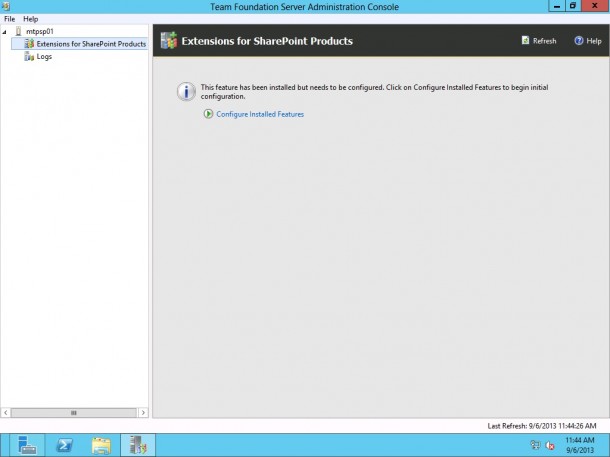
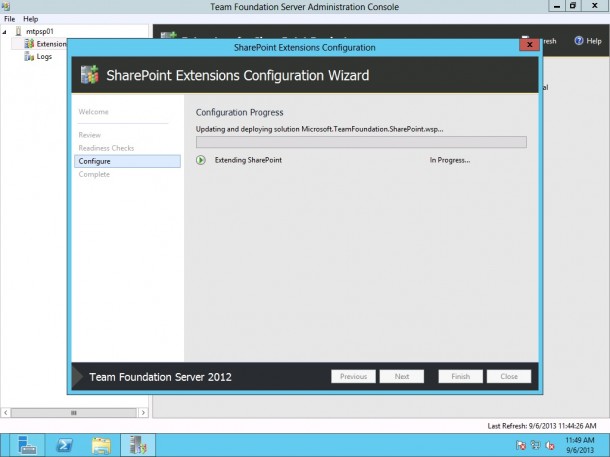
 8) At this point of time, “Verification” will go through smoothly and click “Configure” to proceed. Take note this process will load certain Web Part Solutions into SharePoint to extend the capability of the various Team Foundation Server Project Template.
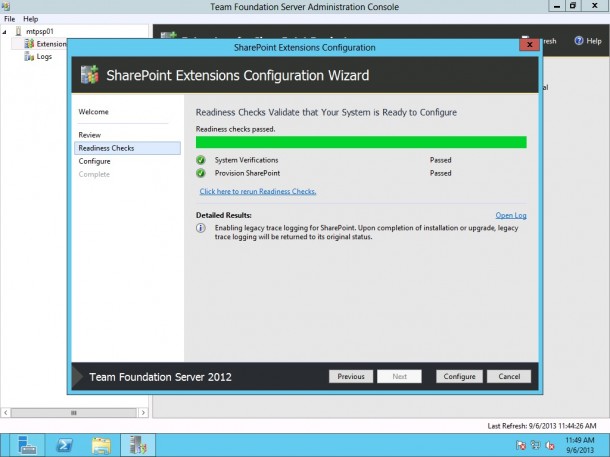
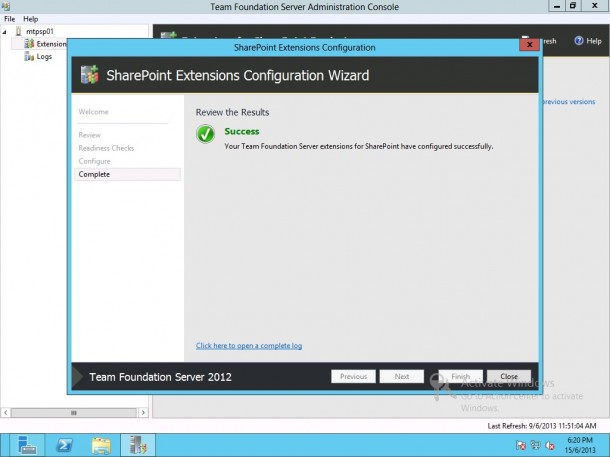
 9) Configuration on SharePoint Server 2013 succeeded.
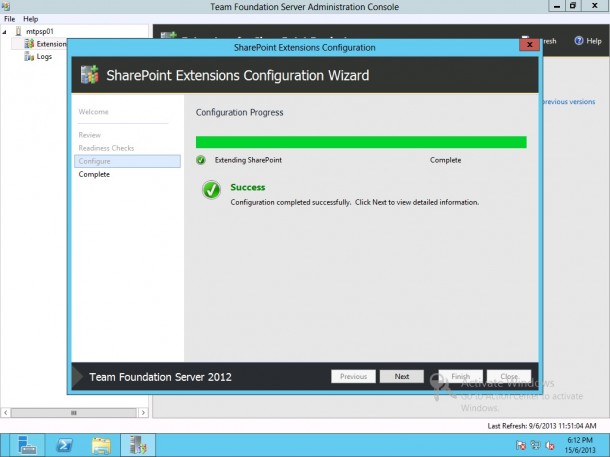
 Step 2 - Configuring Extensions for SharePoint Products 1) Grant access to Team Foundation Server on the SharePoint Server
 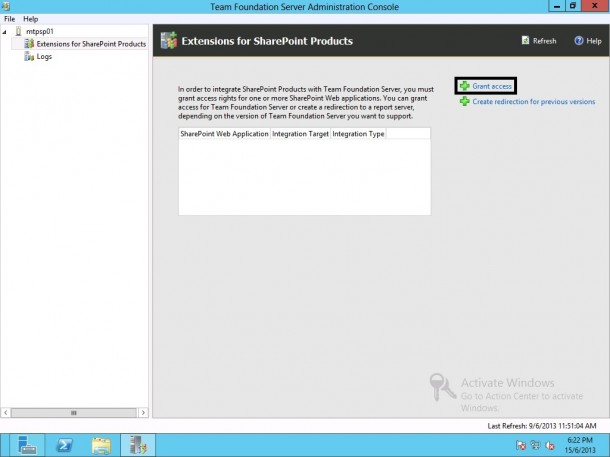 2) Enter details such as URL of Team Foundation Server & select the available SharePoint Web-Application
 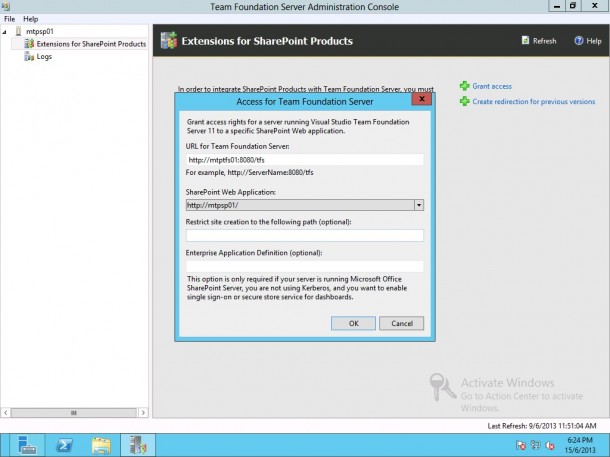 3) **ERROR** –> Why? How? I got stumbled on this error for awhile and I have read through some other documents on access rights and configurations and finally narrowed down to maybe it is a DNS resolving issues.
 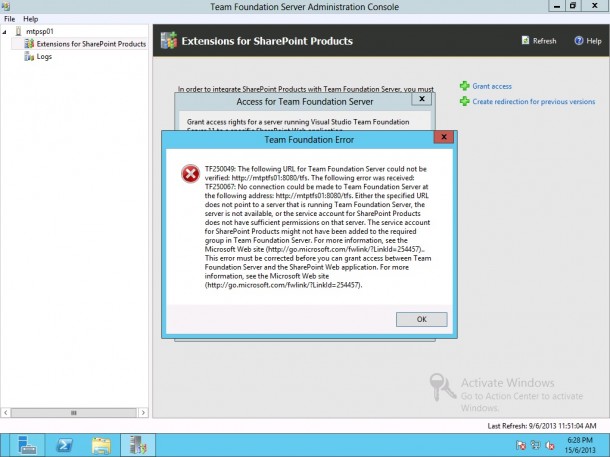 4) Finally resolved it by changing “MTPSP01” to “MTPSP01.mtp.local”
 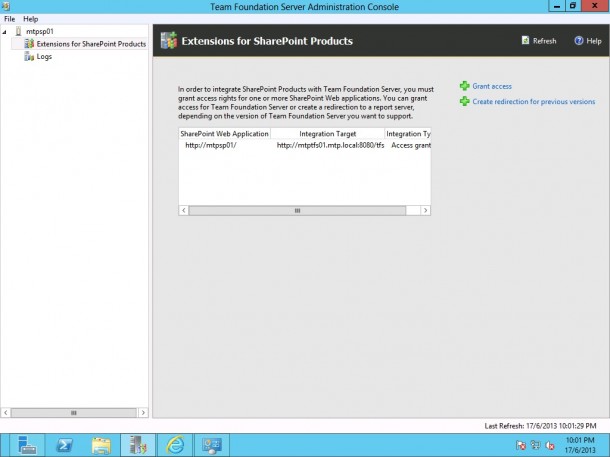 Step 3 - Configuring SharePoint Web Applications on Team Foundation Server For this step, we will navigate to the server hosting the Team Foundation Server (in my case, it will be MTPTFS01). 1) Click on “Add” and enter the details accordingly.
 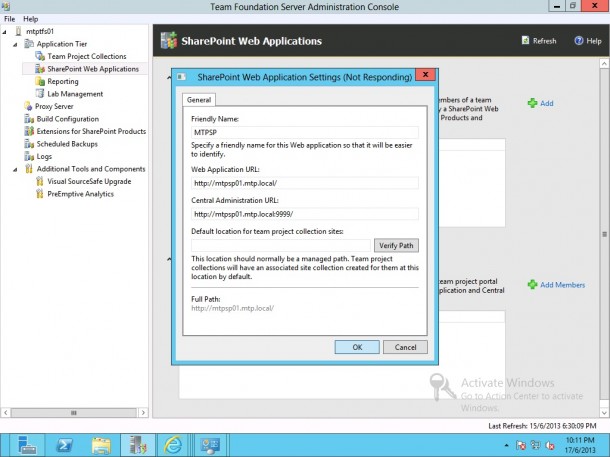 2) However, before I can carry on, I will need to ensure that my newly created Web-Application (in my case, http://mtpsp01/) does not have any Site Collection associated to it, therefore I will go ahead and create one.
 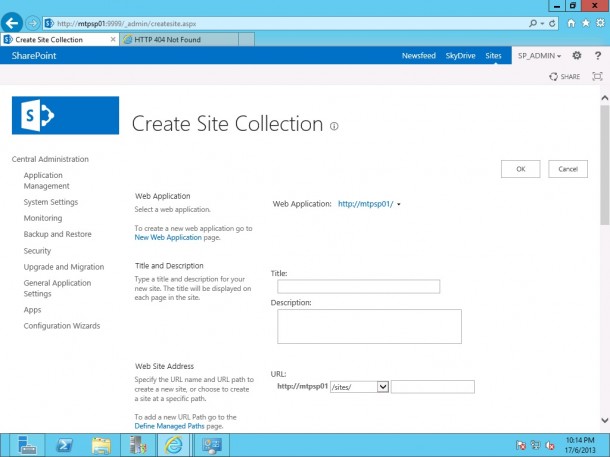 3) Select “Team Foundation Server Project Portal” as the template for the Site Collection.
  Side-track a little, I always like the message included in SharePoint Server 2013 onwards!
 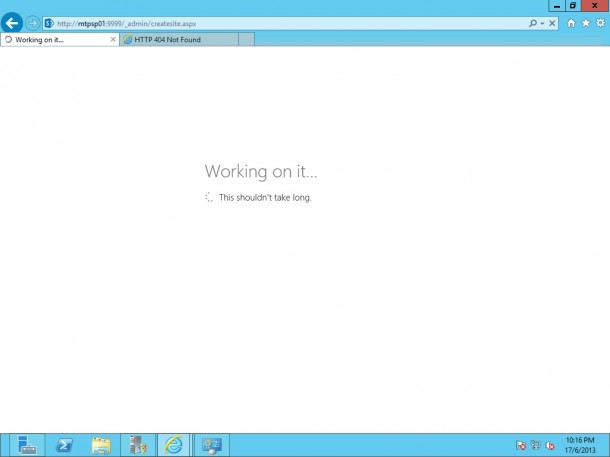 4) After configuration is done, your screen should look like this or similar.
 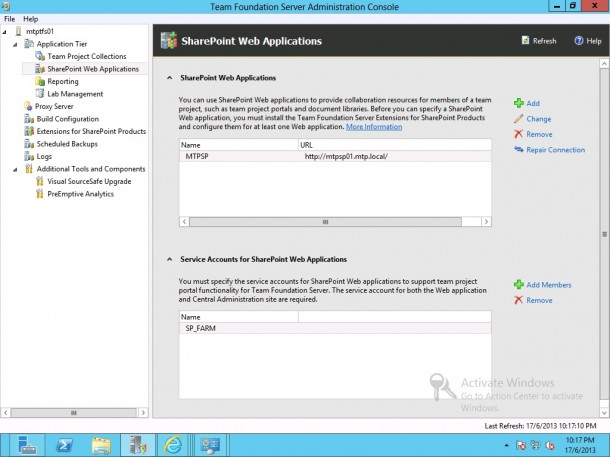 5) Next, we will need to further configure to make sure that there will be a new site collection being added automatically when there is a new project being created. Therefore, we will configure the “Default Site Location”. Click “SharePoint Site” to proceed.
 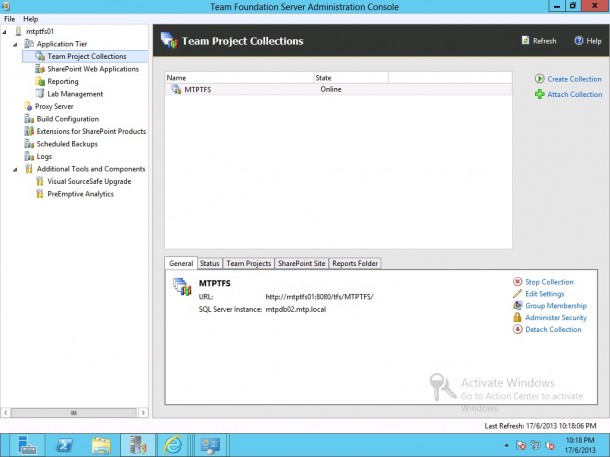 6) Click on “Edit Default Site Location” to proceed.
 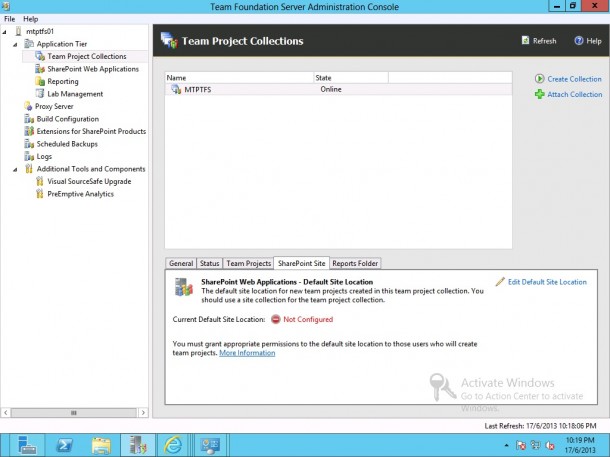 7) Enter the details
 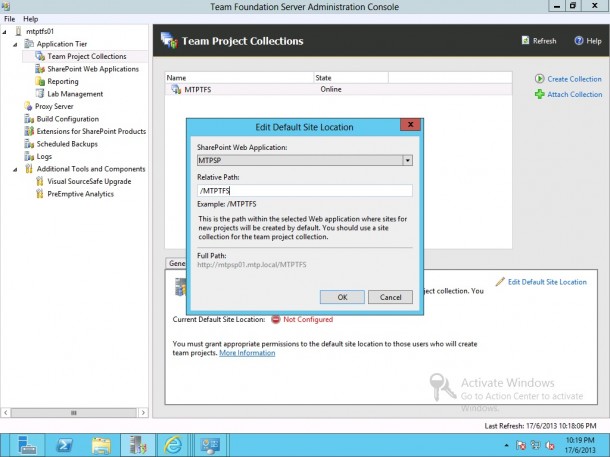 8) Successfully modified the Default Site Location.
 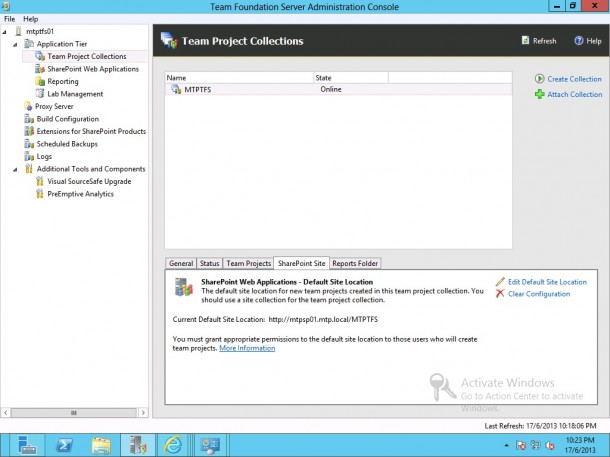 Last Step - Verification of SharePoint TFS Project Template Site
 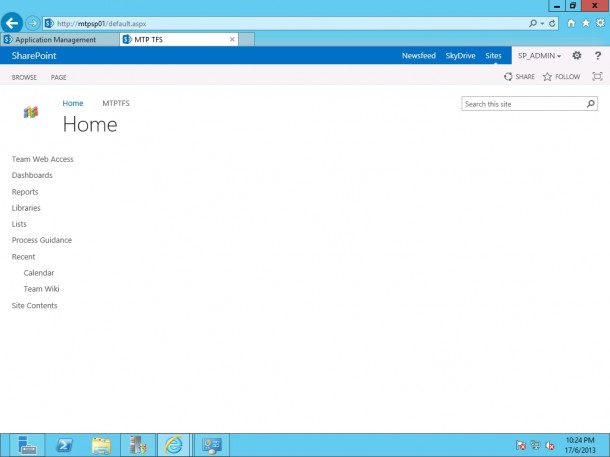 In my next post, I will be driving deeper into using the various common methodology. So stay tuned! Cheers, Milton Goh