Have you ever thought of scaling your Web Application so that it can extend the usage to external parties or have you ever hit in any situation where you have some subset of your data in your on-premises SQL Server that you require it for other system that are external facing? Let’s take for example, if you have an intranet that is hosted within your own corporate network which store membership details that you all are keeping it for internal usage all along. Then on one fine day you all decide to explore the Cloud by putting your custom developed newsletter blasting system to the Cloud as you would prefer not to choked up the bandwidth in your corporate network. Therefore, how in this world could we have the best of the both world? How can we maintain a set of information but can be used in multiple systems in multiple locations but still maintain the integrity and consistency without any duplication within the dataset itself? SQL Data Sync Agent is here to save the woes of people who are facing such issue. Currently, the SQL Data Sync Agent is in the Preview stage and has not reached the General Availability stage therefore things may change but I anticipate that things wouldn’t be that far off as the current tool is really designed and developed to be simple and user friendly. More information on TechNet. Let’s take the following as an example. 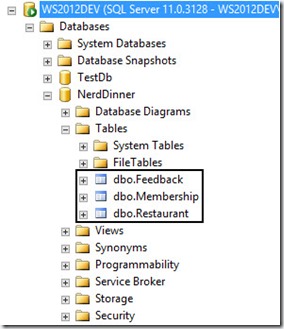 I have this 3 tables in one of my Web Application that is hosted in my corporate data centre which is hosted within the network and no external interface to the internet. Right now, I need to surface the membership table to one of the newly created database in Windows Azure so that the other application that is hosted on Windows Azure will be able to access these information. Creation of Windows Azure SQL Database Let’s navigate to Windows Azure Management Portal then select SQL Databases via the left hand corner navigation bar. If this Azure account is newly created, then you probably wouldn’t have any database created. Click on Create a SQL Database to continue.
  Key in the necessary information to continue the setup of the SQL Database on Windows Azure. If you do not have any SQL Database instance setup before, you will likely not have any SQL Server setup. Therefore, go ahead and select “New SQL Database Server”.
 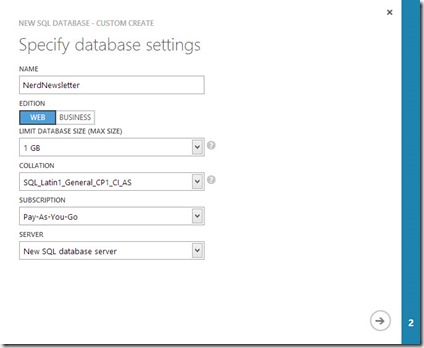 Continue to define the SQL database server settings by entering your preferred username and password. Please note that this username and password is very important because it is the username you will be using to log on to the SQL Server Management Portal on Windows Azure Management Portal. Do note that you will need to ensure that you check that checkbox if you want other of your Windows Azure Services to access this database. An example will be, if you decided to host your Web Application to host onto one of the Virtual Machine while utilizing the Database hosted on Windows Azure SQL Database rather than loading and managing your own SQL Server instance on Virtual Machine.
 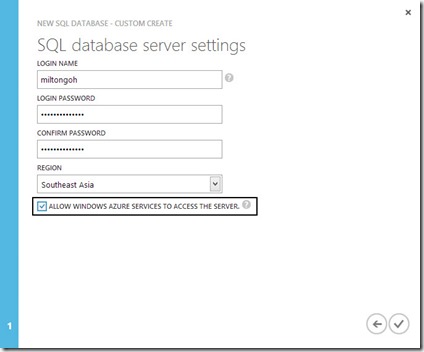 Go ahead and click on the “Tick” to proceed to create your SQL Database. The creation process should take less than one minute and you will know it is done when the database status is flag as “Online”.
  Installation of SQL Data Sync Agent (Preview) and Configuration of Sync Agent Go ahead and download the SQL Data Sync Agent if you have not done so and install on any of the computer within your corporate network which have access to the internal SQL Server. In my example, I will just install the SQL Data Sync Agent onto the SQL Server itself but it should be the same even if the two program seats on separate client. After installation, launch Microsoft SQL Data Sync Agent Preview found in the start menu as shown.
 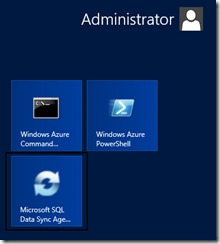 You will be welcome by the simple and neat interface. You will notice that most of the controls are being gray out. What you are left with is to enter the Agent Key so that Windows Azure can communicate with your client that host the SQL Data Sync program.
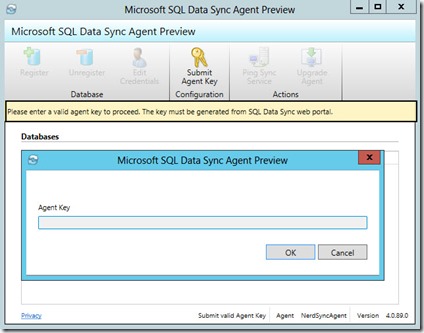
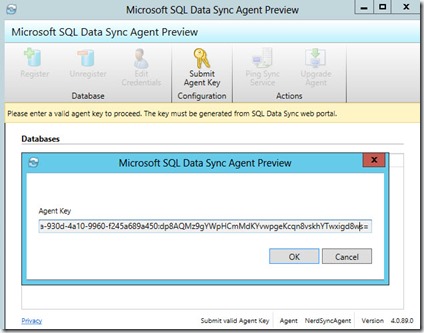
 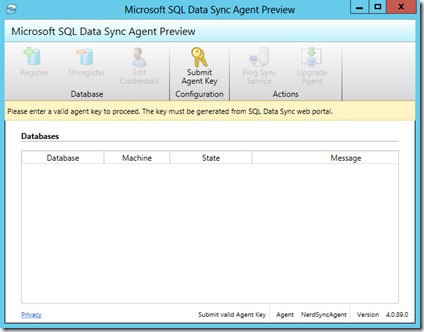 Upon clicking on the Submit Agent Key Configuration, a popup will appear as shown below. However, on first try, I have no idea what to key in. There after, I caught this message that I have highlighted. The key that is require can be retrieved from the SQL Data Sync web portal.
  Navigate back to the Windows Azure Management Portal, navigate to the SQL Databases and look at the bottom. You will notice there are other navigational items available. Click on Add Sync which will show two more options available. Select New Sync Agent.
  Give a name to the Sync Agent. Notice at the top, it actually prompt you that you will need your local client agent to be installed.
 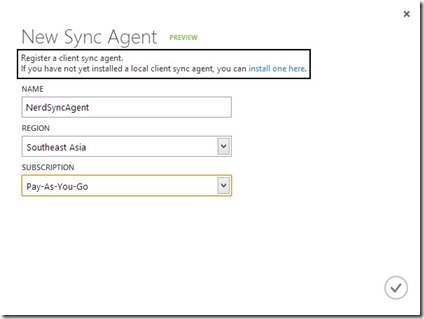 Click on the “Tick” to proceed and this Sync Agent will be created. Notice the “Status” is currently flag as Offline because we have not configure the local agent to communicate with the one at Windows Azure.
  Our ultimate purpose is to get the key so that we can input into the configuration popup window at the local agent. So we click on the arrow at the Sync Agent to go into the detail page. Notice that at the bottom, there is this option “Manage Key” that is available. Click on it.
  Instructions is available at the top. Just click on the “Generate” button to generate the access key and click on the “Copy to Clipboard” button just beside the Generate button.
 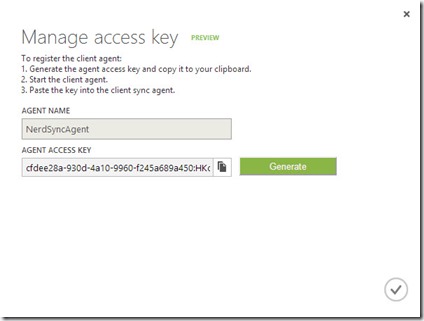 When you are done, navigate back to the client that you install the local sync agent. Input the access key into the popup window.
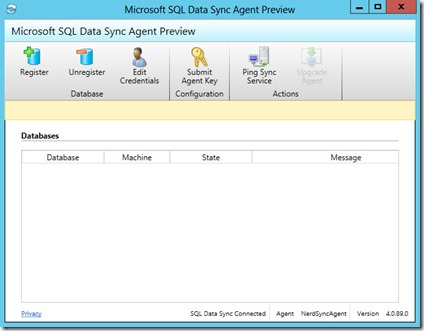
  Once the key is validated to be valid, the other controls will be enabled. Click on “Register” to register the SQL Database in your organization.
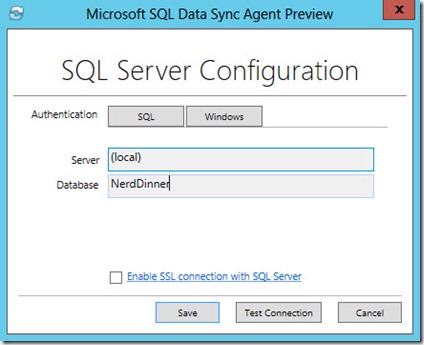
  Enter the SQL Server details along with the targeted database that you want the Sync to take upon. Click on “Test Connection” to ensure that the connection can be established. Once verified, click “Save”.
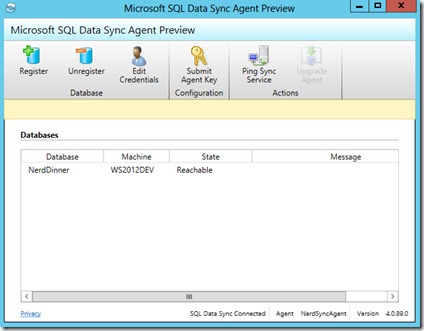
  Now, you will notice that the SQL Database is being added to the list.
  In order to do a verification, click on “Ping Sync Service” to determine if the connection back to the Sync Agent at Windows Azure is reachable. Next navigate to the Windows Azure Management Portal. Right now, you should see the Sync Agent status will switch to “Online”.
  Click the arrow beside the Sync Agent to view the details inside. You should see the database and the SQL Server hostname.
  Creation of Sync Group and Objects Go back to the SQL Databases main menu and as usual click on “Add Sync” and select “New Sync Group” this time.
  Enter the details and select your desire region.
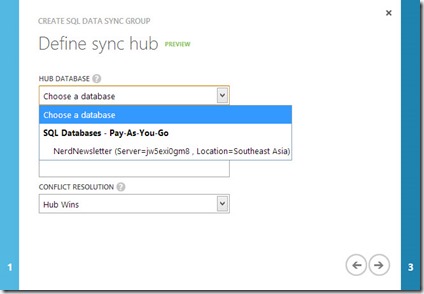
 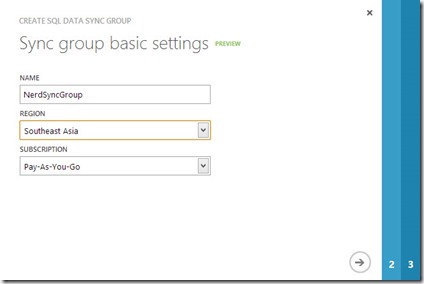 Click the arrow to proceed and select the Hub Database and key in your desire credentials. Notice that there is this “Conflict Resolution”. What it actually does is in times of conflict, whose data should take the precedent. So it depends on which is your master database. If new information is mainly populate through the database server located within your organization, then select “Client Wins” else select “Hub Wins”.
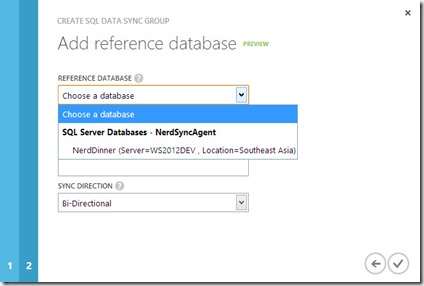
  Click on the arrow to proceed. Now you will be prompt to select the referencing database. This time round, Windows Azure will need to know which database its needs to communicate with. In this case, it will be the database in the organization.
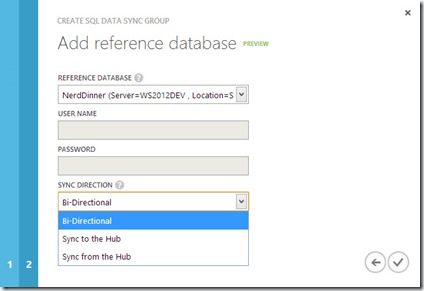
  Then select the Sync Direction on which how you want data to flow. Do you want the Windows Azure SQL Database to always read from the SQL Database in the Corporate Network or you may have changes that is always made on both end and you want synchronization between the two location?
  After you click on the “Tick”, it will go on to proceed the creation of the Sync Group. Then you will notice that the status will be shown as “Not Ready”. Fret not, it just means that you have not decide what to sync between the two SQL Database.
  Click on the Sync Group to view the details. You will notice the following. Select Sync Rules.
  You will be welcome with this page, by right you shouldn’t have any Sync Rules being added yet. Click on “Define Sync Rules”.
  Select one of the database. In this case, I select my SQL Server database that is located within the organization.
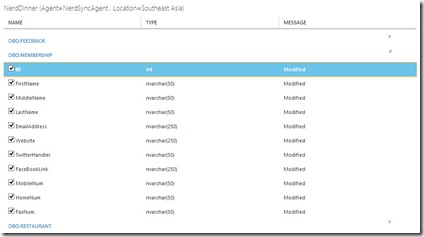
 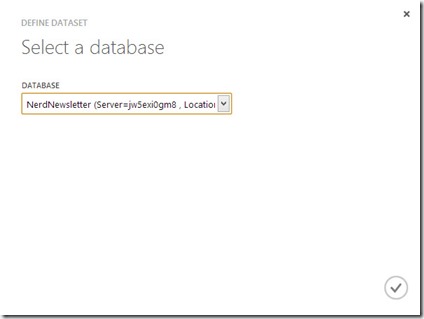 You should see all the tables that you have that resemble the database back in the organization.
  Select the columns that you want to be Synchronized. For my case, I want the whole “Membership” table to be synchronize between the two data sources. Therefore, I check all the columns as shown in the table. After making the selection, click “Save” to commit your selection.
  Next, click on “Configure” on the top navigation and we will proceed with configuring the Automatic Synchronization of the data between the sources.
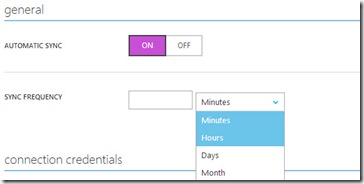
 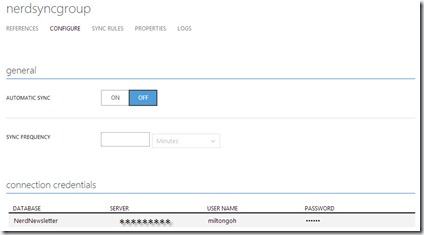 Click on “ON” and define the Sync Frequency. Make sure to click on “Save” to commit the changes.
  Proceed to click on “Sync” to do a force synchronization between the two data sources so that we can see some results. Head back to the SQL Database on Windows Azure and click into the Database as shown. Click on “Set up Windows Azure firewall rules for this IP address” so that you will be able to connect into the management portal to manage the database. One of the magic charm bar will appear at the bottom with your IP address as the detail, just click Yes to proceed.
 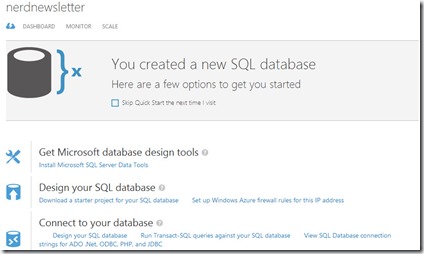 Click on “Design your SQL database” to launch the SQL Database Management Portal. You will be prompted with the login screen to provide your credentials.
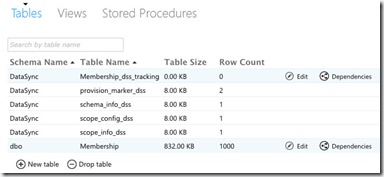
 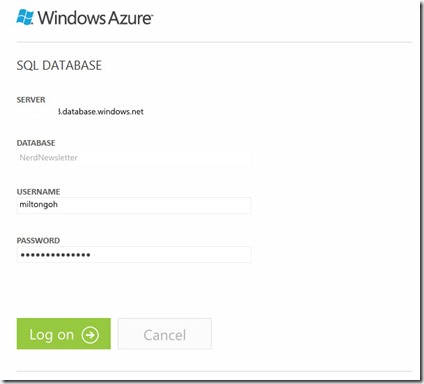 Upon successful login, you should see the tables in your Windows Azure SQL Database. See the “Membership” table that was synchronized over.
  Let’s do some test by running query against this database.
 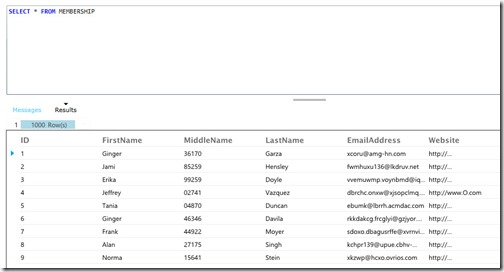 There, I have all the data synchronized over! This tool is really very useful and in any case, I could easily synchronized data from my on-premises database and treat the Windows Azure SQL Database as a passive node.