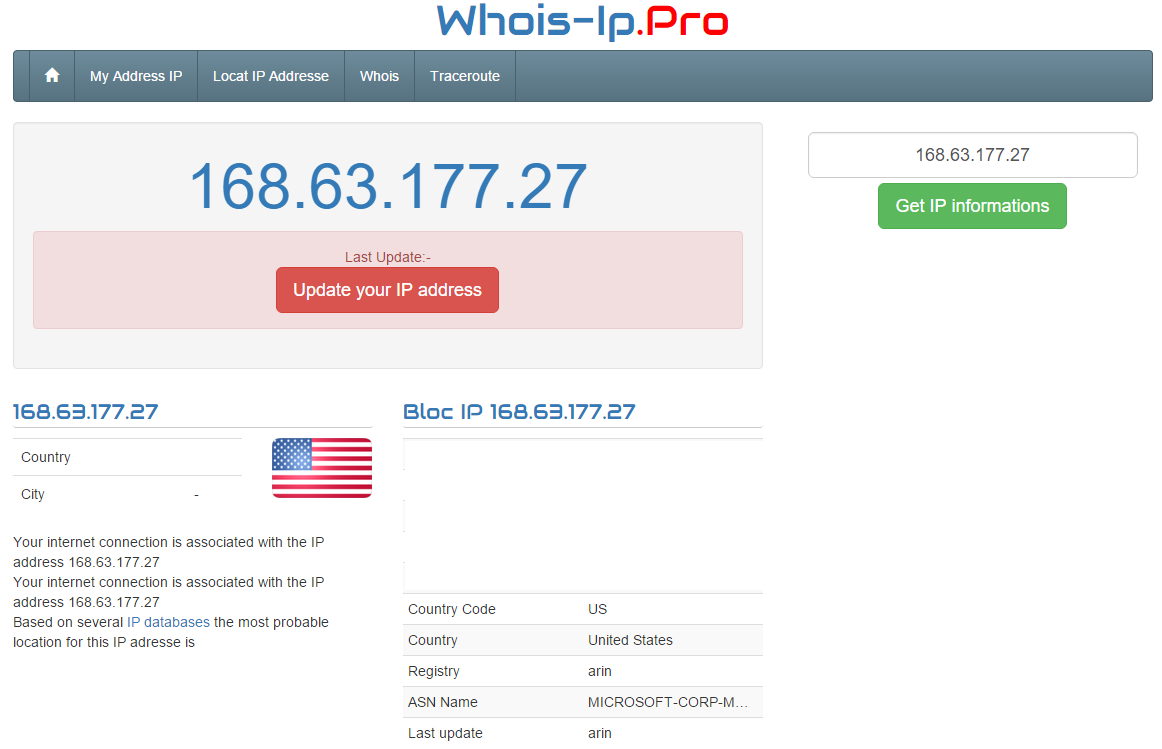
UPDATE: I have since automated the process of doing this using a PowerShell Script which is available HERE Having used Azure for IaaS for almost 2 years, one headache I keep encountering is the fact that although Azure provisions your VM in the specified region, the Virtual IP (VIP) that it assigns to the VM is typically an US VIP. As such, many web services think that I’m are from the US when I’m actually not. Through much Goo.. Binging, I managed to find out how can I reserve a local VIP so that I don’t have to keep re-provisioning the same VM to make sure I get a local VIP. Before we start this article, do ensure you have PowerShell and have installed the Azure PowerShell Cmdlets. You can install the Azure PowerShell Cmdlets by downloading and running the Web Platform Installer that Microsoft kindly provides from the below link. http://go.microsoft.com/fwlink/p/?LinkID=320376 After you have downloaded the Installer, execute it by double clicking on it and following through with the steps. With all pre requisites satisfied, lets start from the Azure portal. Here, you can see that I have already provisioned a VM for this article. UPDATE: I have since automated the process of doing this using a PowerShell Script which is available HERE  You can see from this picture that the assigned VIP is in the USA which is not what we want.
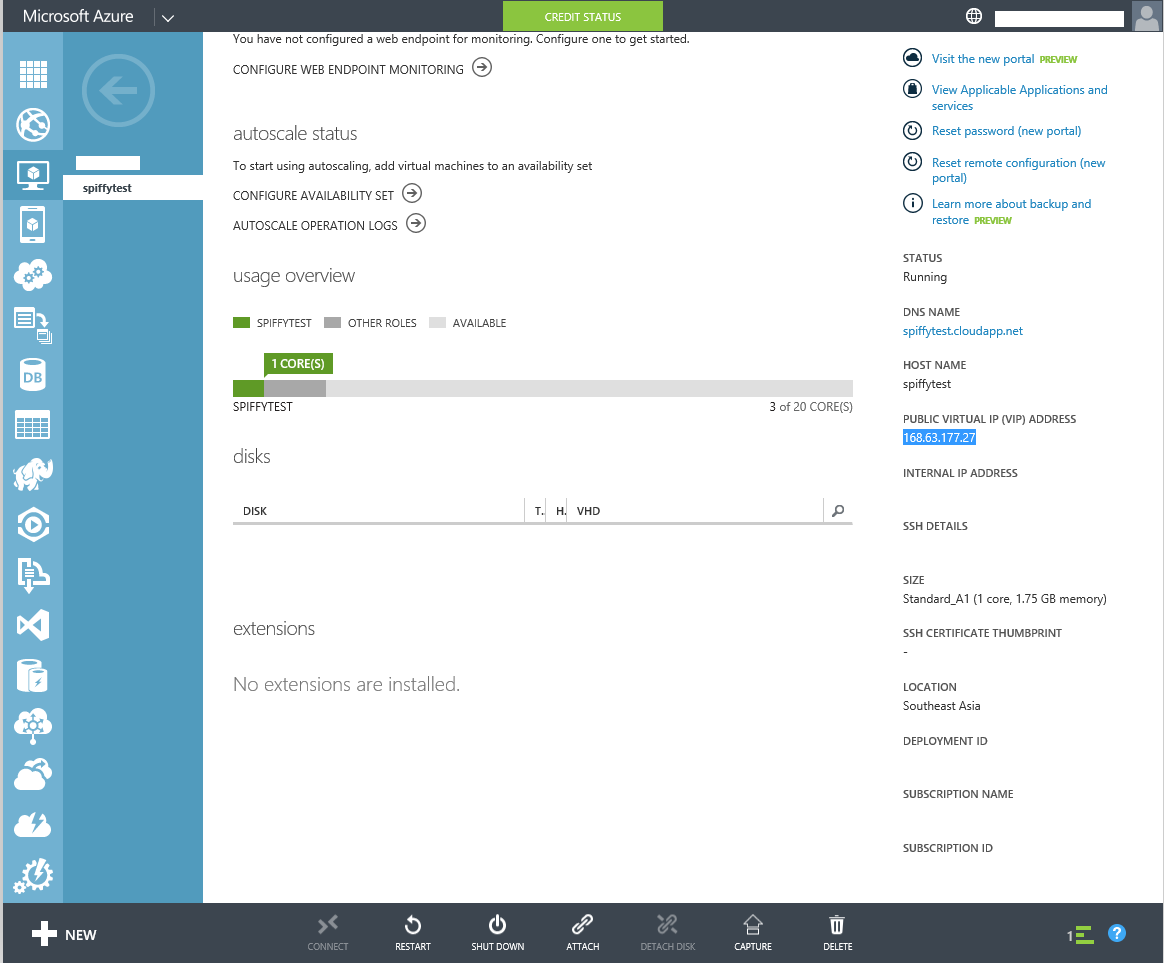
 UPDATE: I have since automated the process of doing this using a PowerShell Script which is available HERE So in the past I would generally keep re-provisioning the VM till I get the wanted VIP which is very tedious and time consuming. Plus the assigned VIP will be lost if the VM is de-provisioned. So we can solve this by Reserving an IP for our VM. We start by starting up PowerShell and typing in
 Get-AzurePublishSettingsFile This is used to get a settings file that we can use in PowerShell Sign in with your Microsoft Account that has the Azure You will then download a settings file that you will have to import into PowerShell Switch back to PowerShell and type in the following code followed by the location of the file which in this case is my downloads folder. Import-AzurePublishSettingsFile "C:\Users\YourUser\Downloads\NameOfYourSettingsFile" Now for the rather tedious part which I assure you is only for this time. Go ahead and type in the PowerShell console 1)New-AzureReservedIP -ReservedIPName "spiffytestVIP" -Location "Southeast Asia" -ServiceName "spiffytest" What that does is to add a new Reserved IP in the Southeast Asia region with the name “spiffytestVIP” to your subscription. Ensure that the Instance is running before adding the Reserved IP Check that the VIP is the one you want by executing 2)Get-AzureReservedIP `` This will give you a list of reserved VIPs that you currently have. If you don't have the VIP that you want, go ahead and remove the current reserved IP 3)`Remove-AzureReservedIPAssociation -ReservedIPName "spiffytestVIP" -ServiceName "spiffytest"` `` Repeat steps 1-3 to get the VIP that you want. Once you have gotten the VIP that you want, rest assured that the VIP will not disappear even if you de-provision your VM. Assigning Reserved IP to VM Type into the PowerShell Console Set-AzureReservedIPAssociation -ReservedIPName "spiffytest" -ServiceName "spiffytest" And that’s it! Go ahead and enjoy your new Reserved IP!