If you have a DSLR, you must have seen the mode dial with 4 letters P, A/Av, S/Tv, M. So what does that mean? 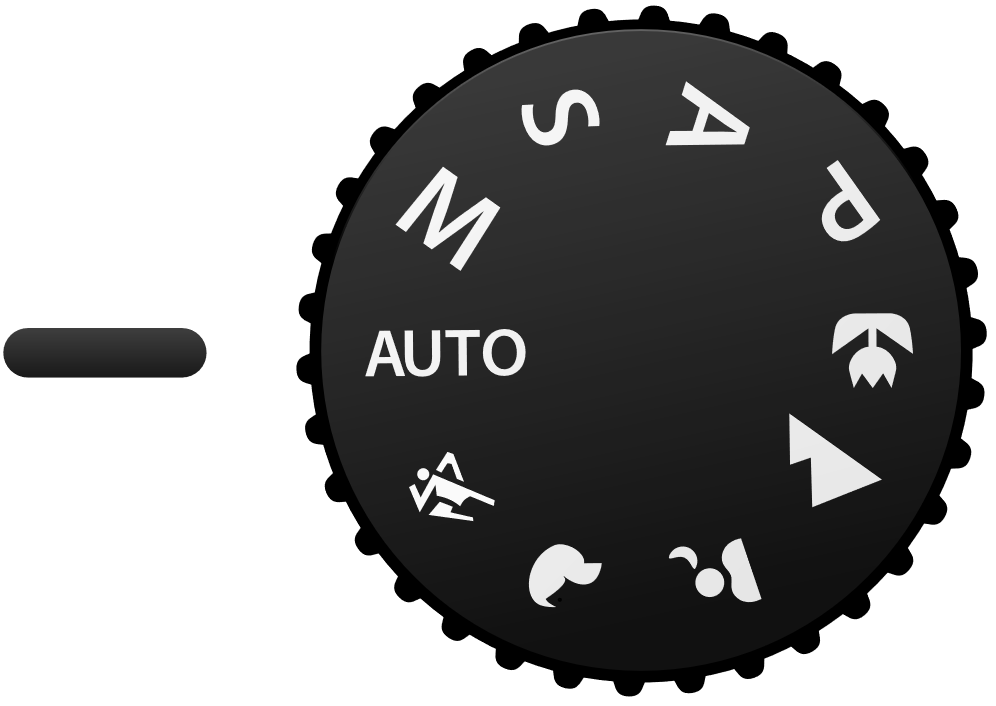
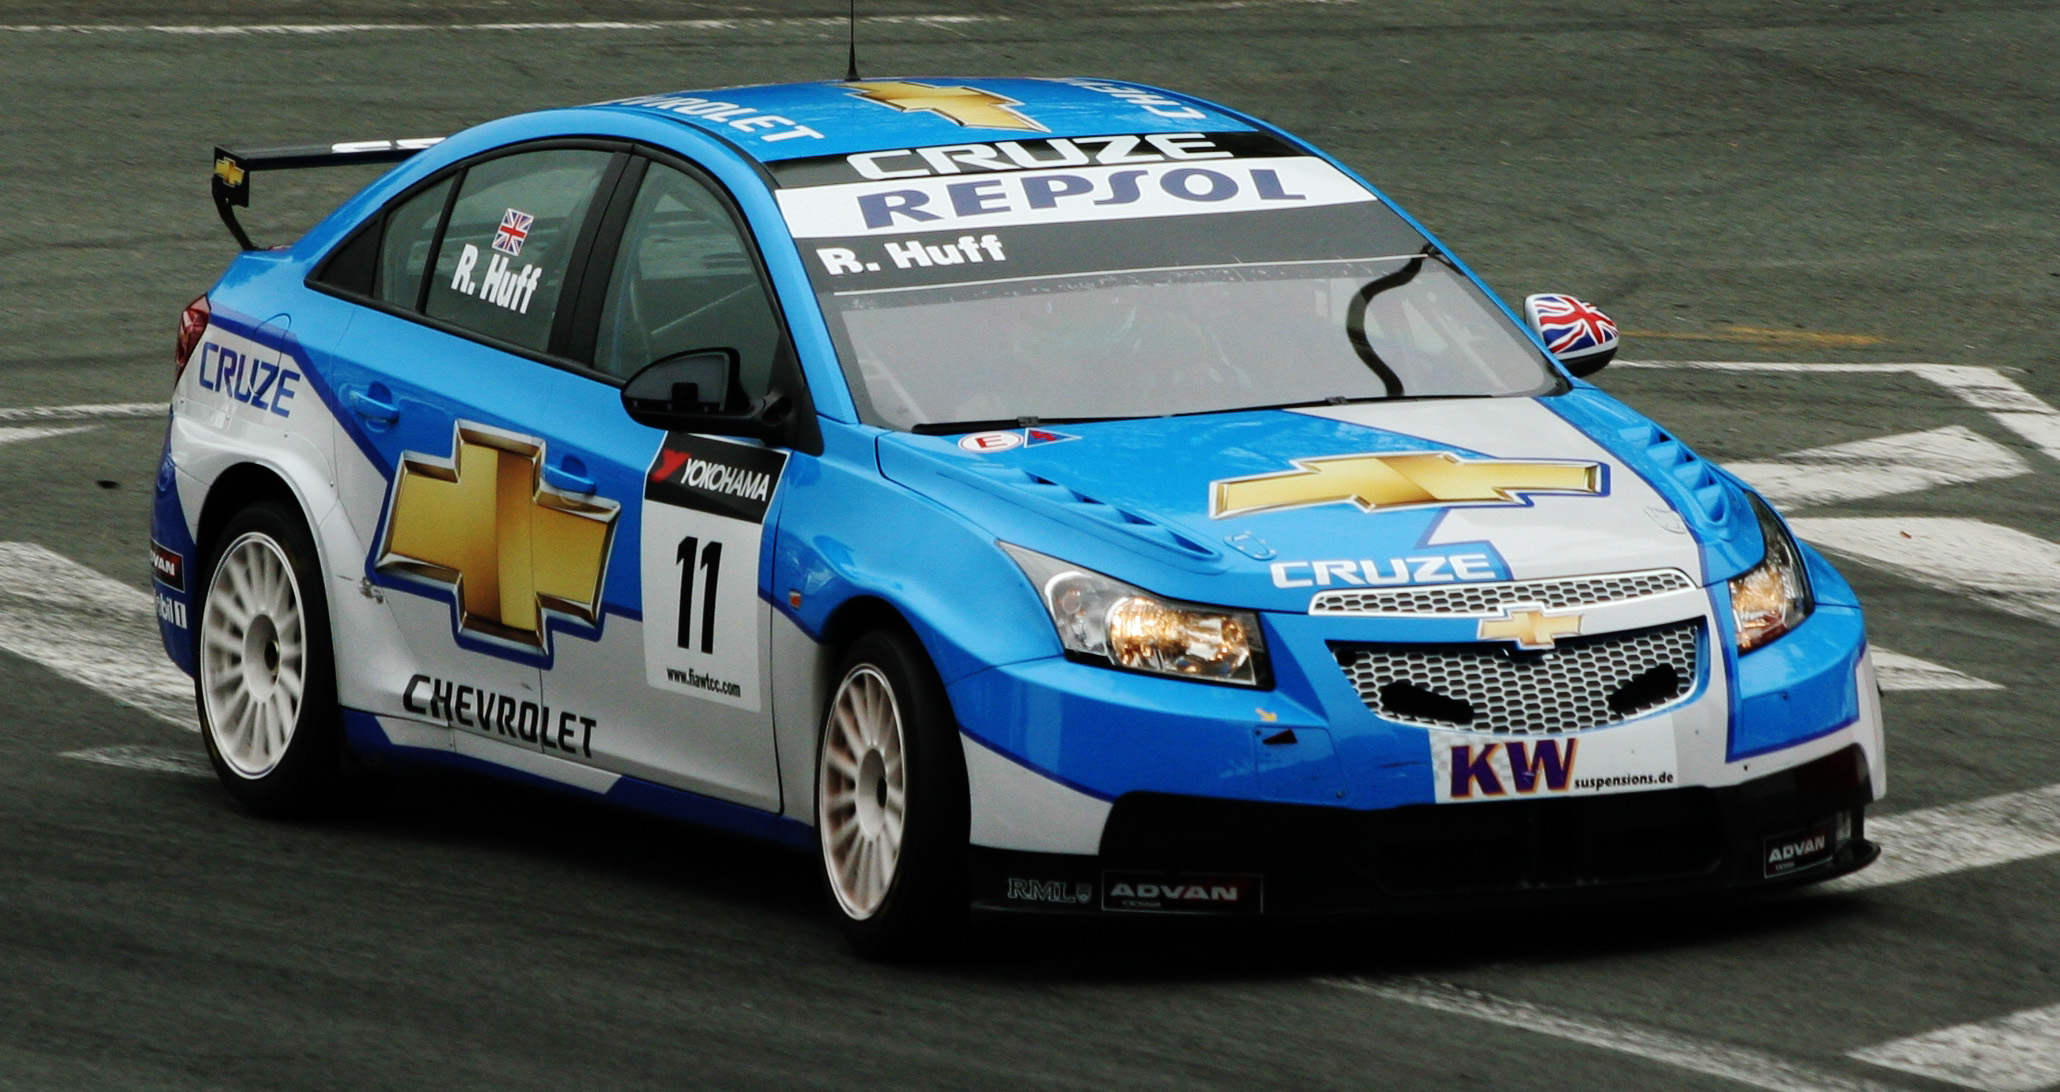
P - Program Mode Basically, it means auto. Camera will set everything for you. A - Aperture Priority This mode lets you decide how much background blur (bokeh) you have. If you look at your camera, there is a setting with “F” follow by a number. Example: “F8”, “F2.8”, “F2”. The smaller the number, the more background blur you have. This is the most commonly used mode. If you want to know how to do bokehlicious photo. Please watch [this video](https://www.youtube.com/watch?v=LDcS4zN92rA “How Do You “Do” Bokeh?”). If you don’t want the introduction part, just jump straight to [2:43.](http://www.youtube.com/watch?v=LDcS4zN92rA&t=2m43s “How Do You “Do” Bokeh?”) 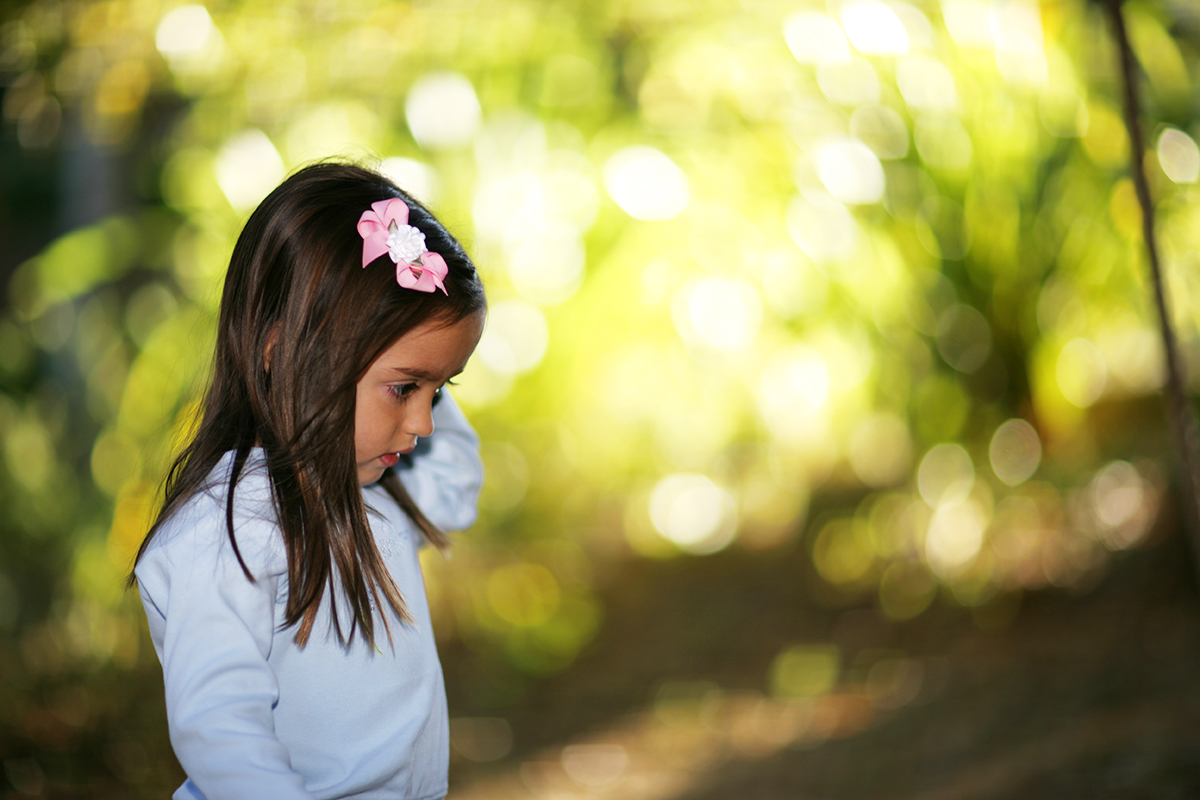 S - Shutter Priority This mode lets you control the shutter speed. High shutter speed allows you to freeze moving subject and slow shutter speed allows you to take special photos like light trail photography. This mode is usually used in situation with lots of movements and you want to “freeze” them without motion blur. They are usually displayed in 1/X if the speed is less than 1sec and X" if the speed is more than 1 sec. A rough guide for everyone. To prevent motion blur, the minimum shutter speed I will recommend are as followed. Stationary group shots - 1/25 Moving people (Walking/Presenting) - 1/60 Running man - 1/125 Moving car - 1/250 Of course these do not work all the time, take more photos and you will slowly understand how it works.
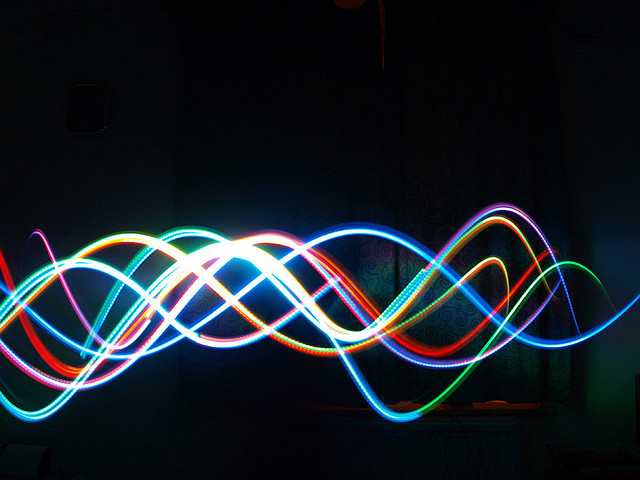
 M - Manual Mode Well….. this is the most complicated mode. This mode required you to set aperture and shutter speed by yourself. Unlike the other modes, they will auto adjust the rest of the setting to adapt the different brightness condition. However, this mode allows you to achieve the most amazing photo effect.
Lastly, what is EV. When you use PAS mode or Manual mode with auto ISO, the camera will adjust the brightness of the photo according to a brightness of what we call “18% grey”. If you are taking a photo of white paper, the paper in your photo will look slightly darker, like grey, instead of white. Another situation is when you are taking a photo with a very bright background, the people in your photo becomes very dark because the camera “thought” the photo is too bright. Therefore, we will use the “Exposure Compensation” to adjust the brightness to where it should be. 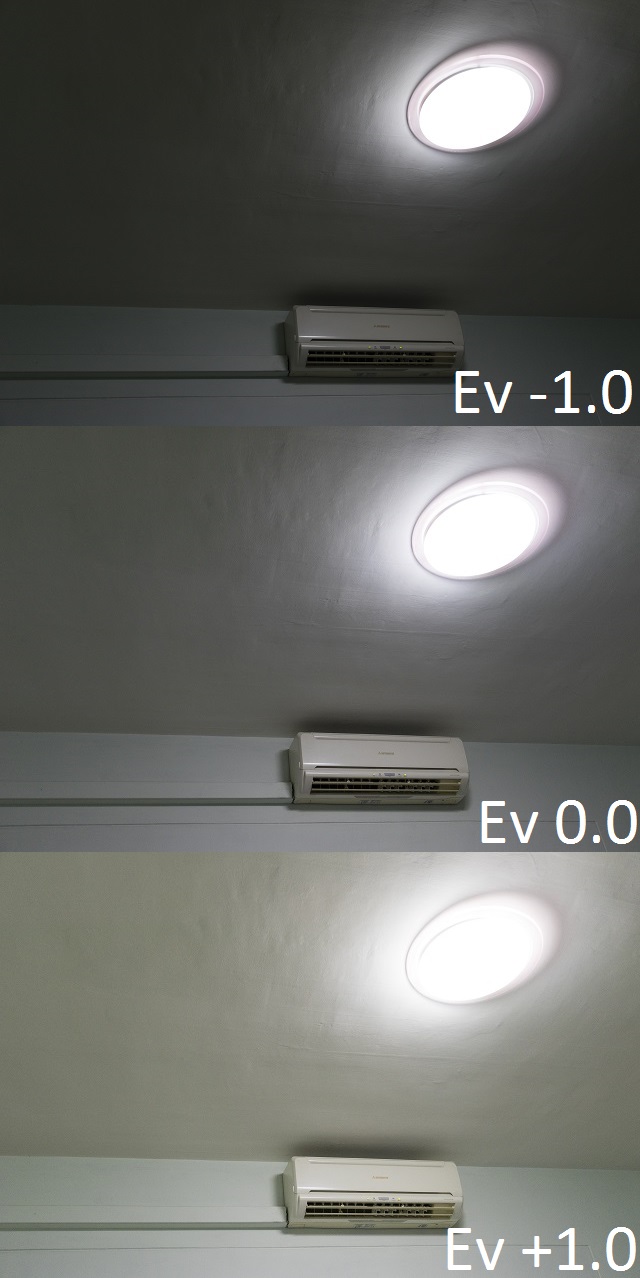 Looking at the photo above, the light is too bight. When the exposure value (Ev) is 0, the picture looks slightly too dark. If you change the Ev to +1.0, the whole image brighten up. It is now looking closer to reality. A very simple rule to follow when it comes to exposure compensation. “White plus, Black minus”. When there is a lot of white/bright stuff in the photo, add exposure compensation. When there is a lot of black/dark stuff in the photo, minus exposure compensation.
Conclusion/Quick Tips: You can create amazing photos with just Aperture Priority and Exposure Compensation. Set how much background blur you want with aperture and the brightness adjustment with exposure compensation, you will be surprised by the amazing result. 
 That’s it! Cheers Lungic \(^o^)/