So I’m sure most of our readers have heard of Linux before? No? Maybe you have seen this linux penguin before? [caption id="" align=“alignnone” width=“307”]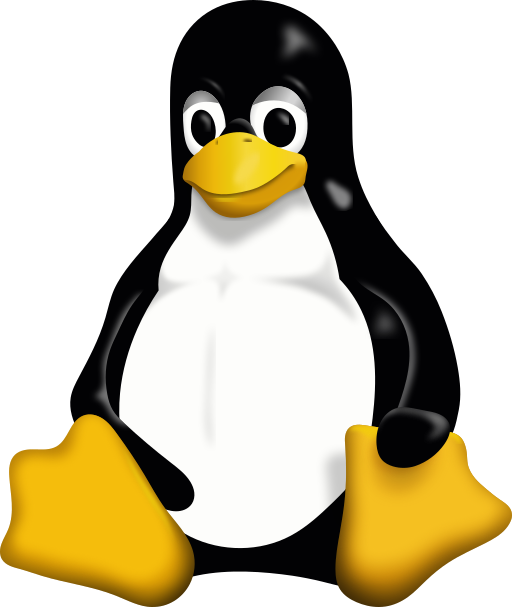 Tux the Linux Penguin[/caption] Nonetheless this is for those of you who have heard of Linux or the many distributions of Linux but perhaps think it’s too complicated or a long list of other reasons why you never used Linux. So now you may ask me, so what in the world is Linux? The straight answer to this question is It’s an Operating System like Windows or Macintosh. Some of you may have never had the chance to utilise Linux but Linux is more prevalent in systems than you think. Have a router, smartphone, network access storage or media streaming player? They all basically have Linux at their core. Let me introduce you to a flavour(distribution) of Linux. It’s called Ubuntu. The image below is how Ubuntu 14.04 looks like.
  Looks sleek and neat right? You were thinking Linux looked more like white text on a black box right? Like the image below perhaps?
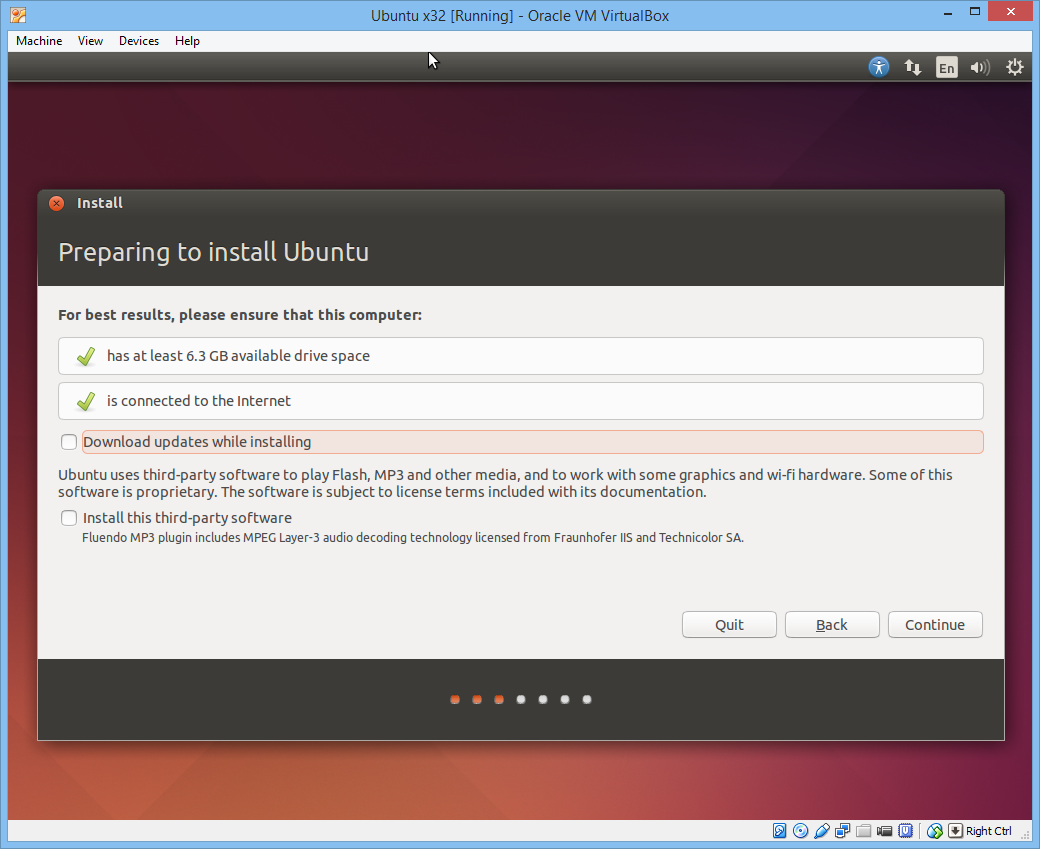
 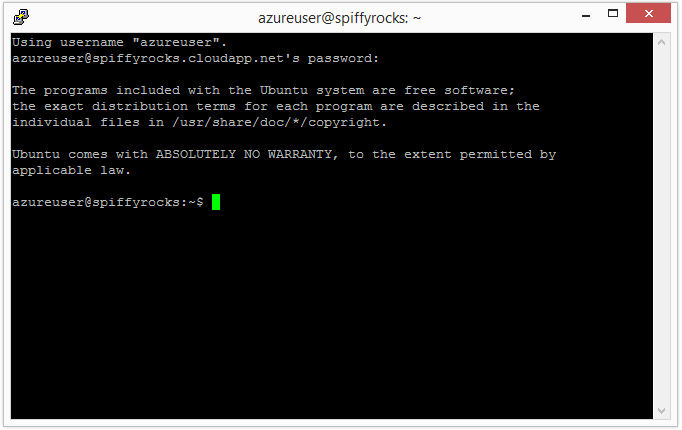 Well this is true in both senses but let’s not delve too deep into that area as that will just complicate things for now. If you want to try out Linux, there are tons of ways to do it but I’m going to propose the simplest way for all of us to do this and that is to use a virtual machine! So let’s move on to what we need. 1. VirtualBox [link] 2. VirtualBox Extension Pack [link] 3. Ubuntu 32-bit [link] 4. A Working Computer running Windows, OS X 5. Yourself Now that we have download all of the above, Install VirtualBox as well as the Extension Pack. Get Ready with the Ubuntu ISO you just downloaded and let’s proceed to install Linux! Create a new Virtual Machine below by pressing on the obviously blue new button.
  Fill up some details about your machine, go crazy here. Suggestion for names: “Superman’s Fortress of Solitude”, “The Bat Cave”, “Winterfell”, “King’s Landing” and many more great ideas you may have. I went with a boring name. Just hit next all the way and proceed with the default options.
  Let’s turn on our Virtual Machine. Press on the bright and beautiful green arrow “Start”.
 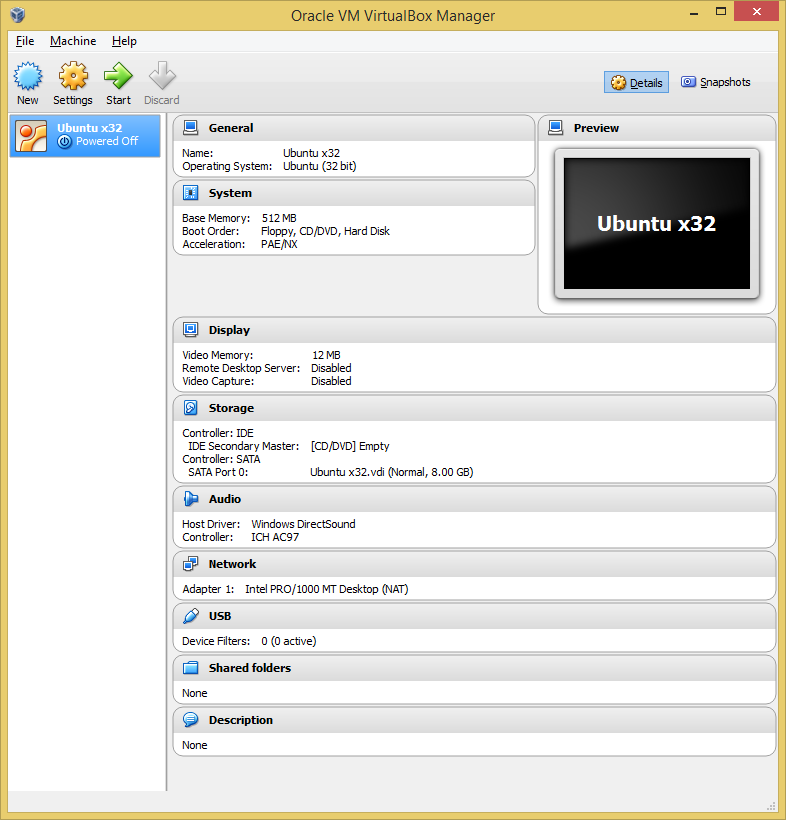 You will see the below and will have to select the Ubuntu ISO that you previously downloaded.
 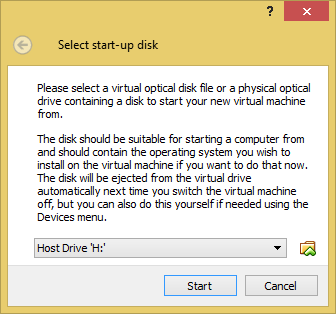 I have selected the ISO and we are roaring to go! Hit Start.
 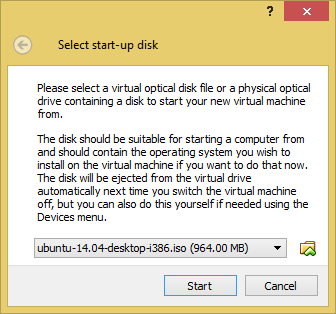 The Boot Screen for your Virtual Machine.
 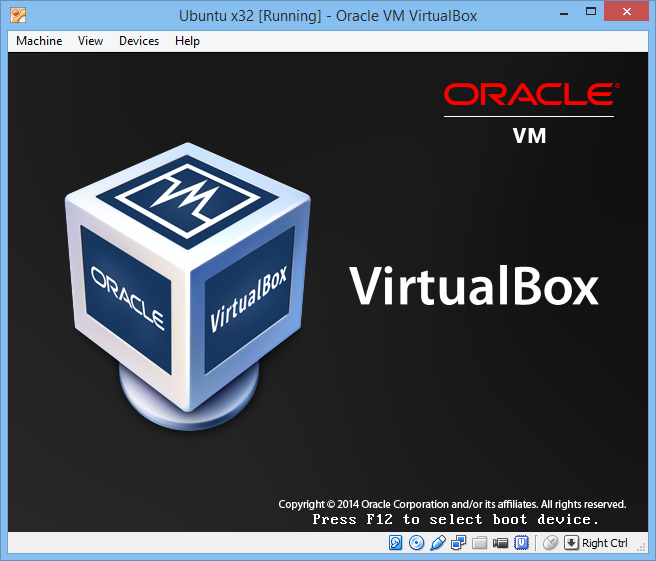 Yay we have booted into the Ubuntu Menu. Let’s proceed straight to Installing Ubuntu. Select the second option with your keyboard and hit enter.
 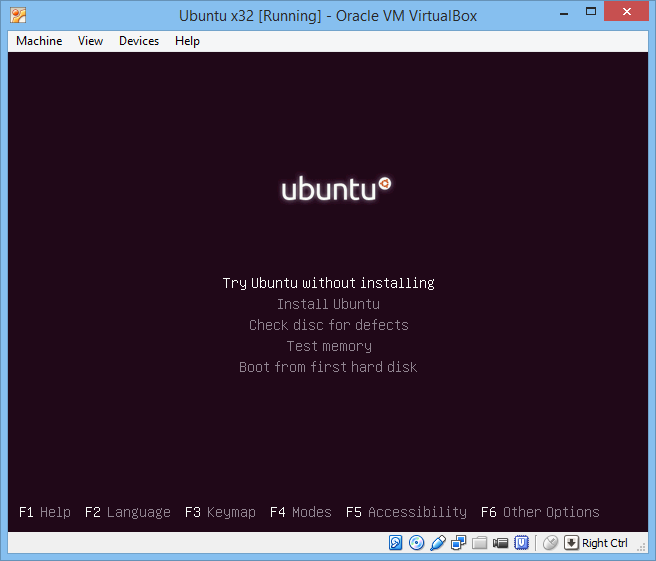 You’ll see both options if you let your virtual machine autoboot without seeing the screen above. If that’s the case, just hit on the “Install Ubuntu” button.
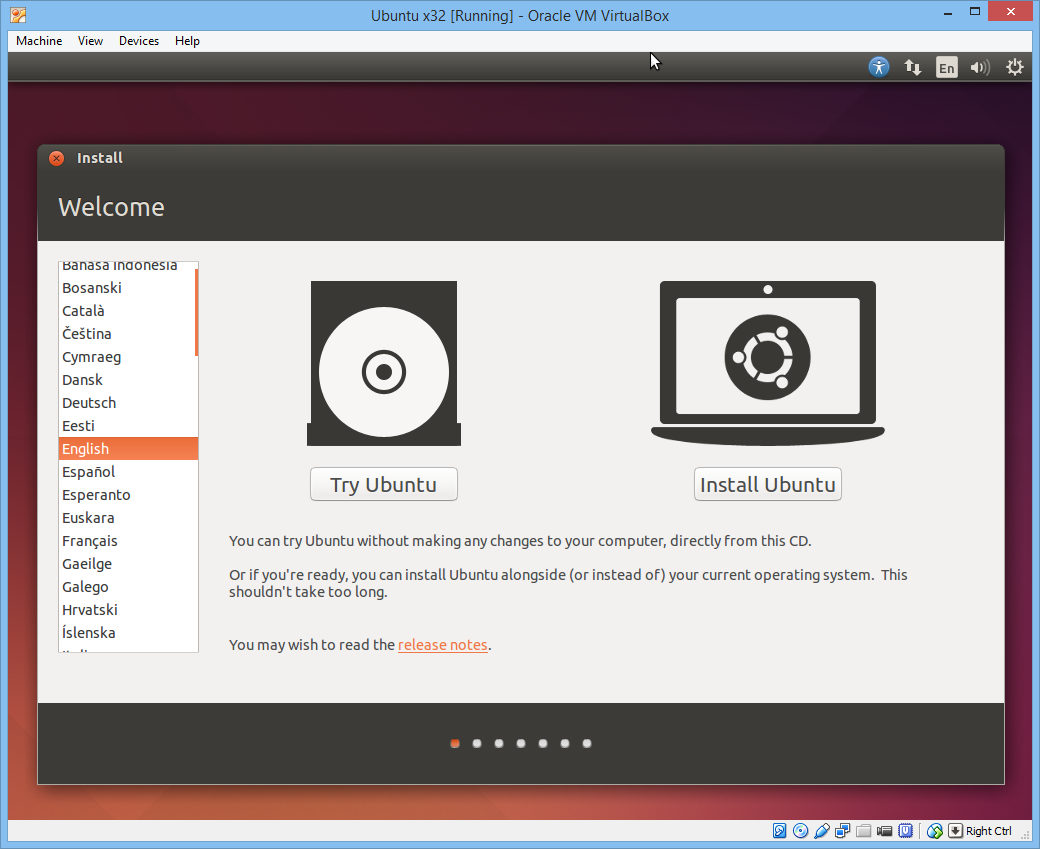
 Select the options like in the image below and continue.
 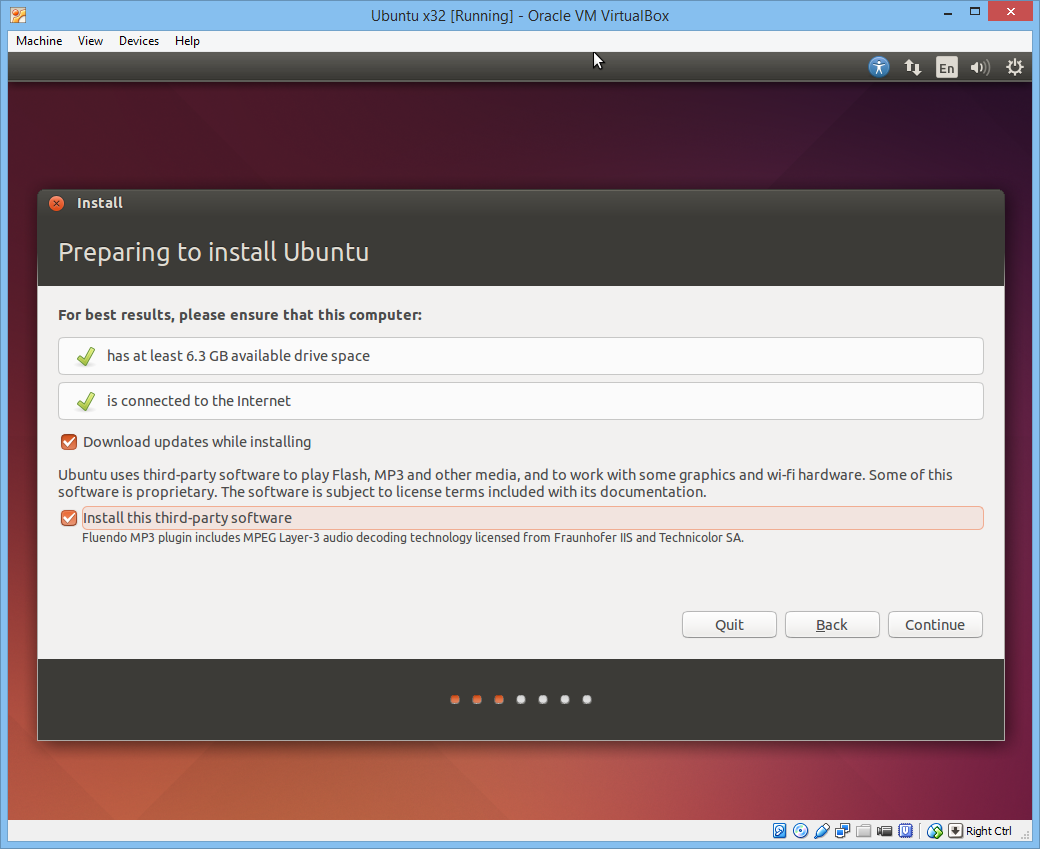 Erase the whole disk and install Ubuntu.
 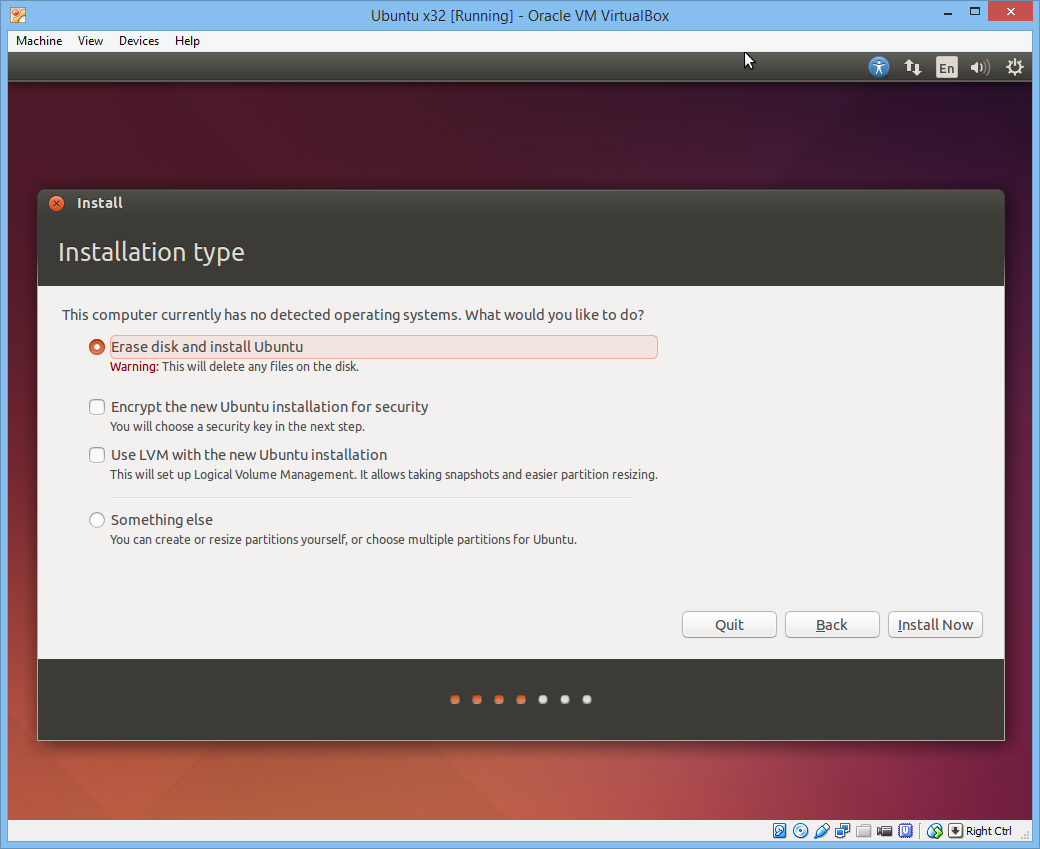 Select your country.
 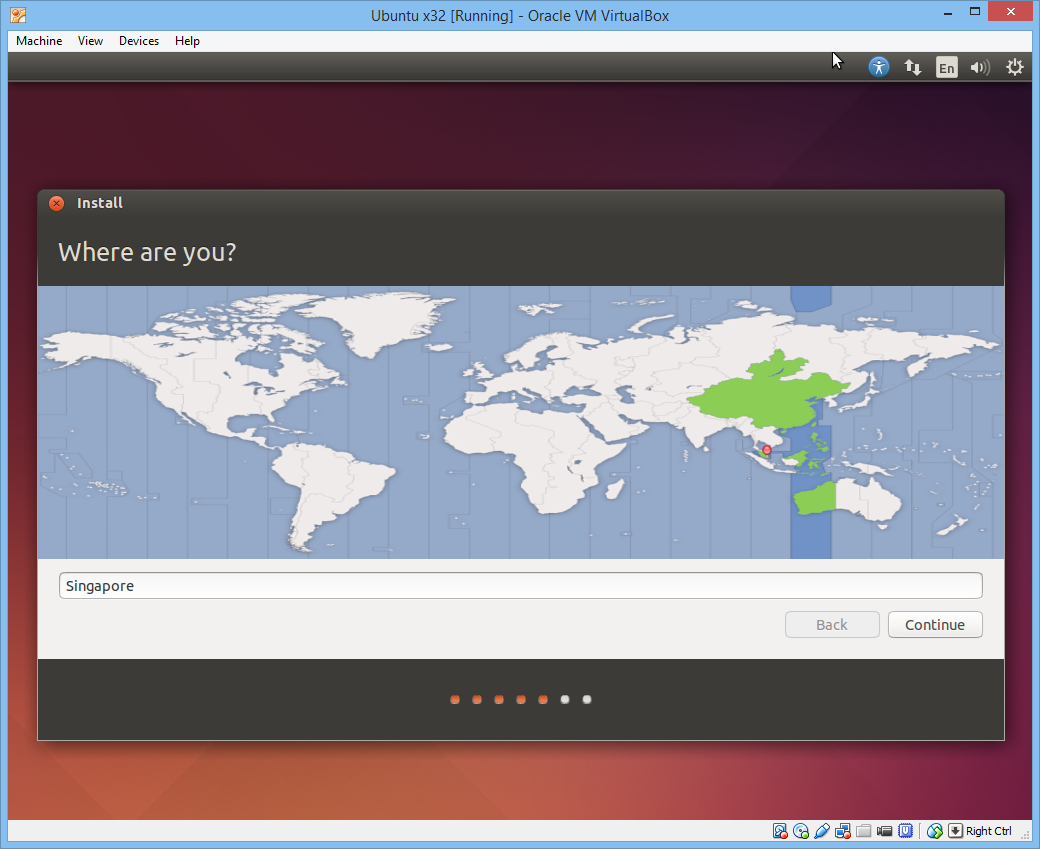 Select your keyboard layout. Usually it would be English (US) unless perhaps maybe you are special?
  Fill in your name below! We can get creative here again. Some examples could beeeee “Clark Kent, “Bruce Wayne”, “Ned Stark”, “Robert Baratheon” and maaany more you can think of.
 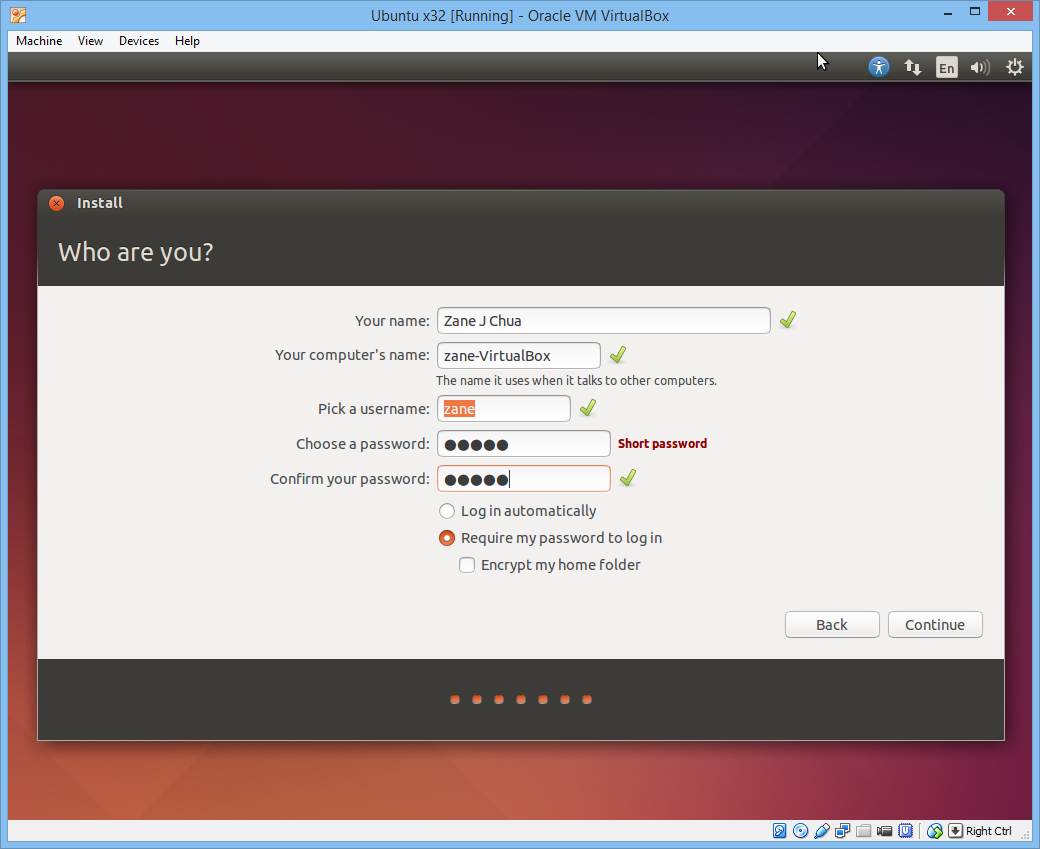 Now Ubuntu is beginning to install. It will be done in quite a jiffy.
 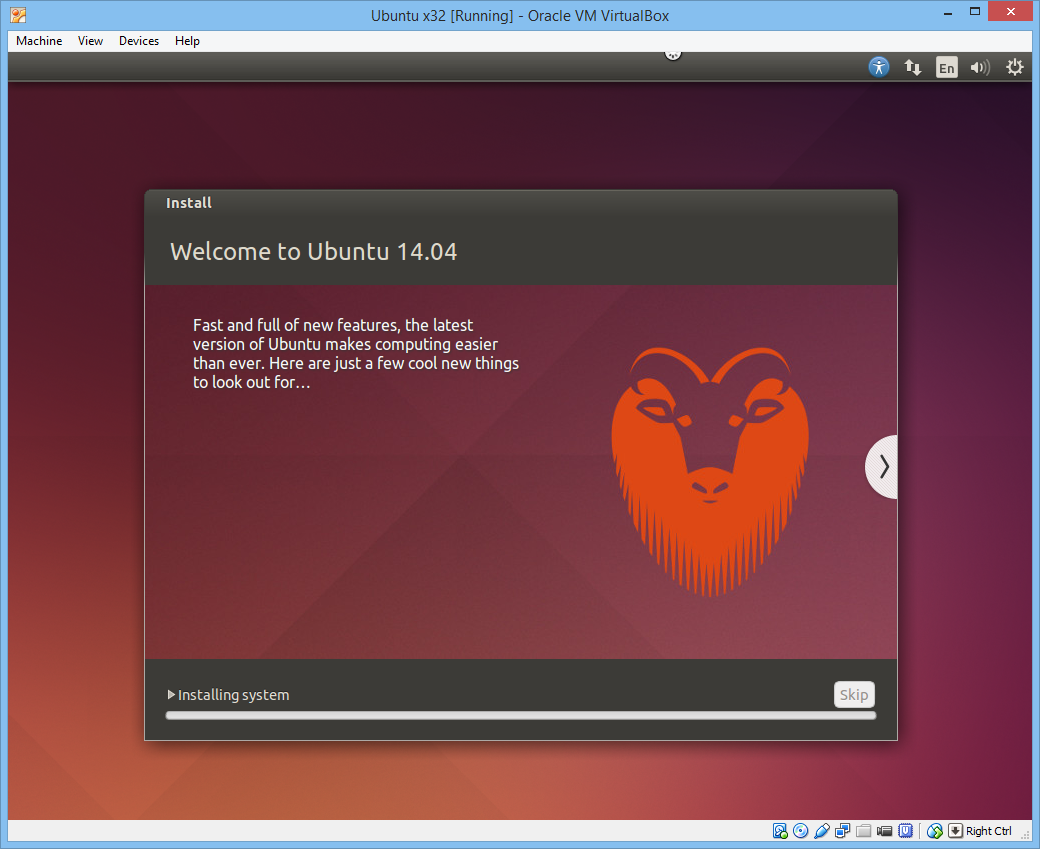 Yay! It’s done. Let’s reboot.
 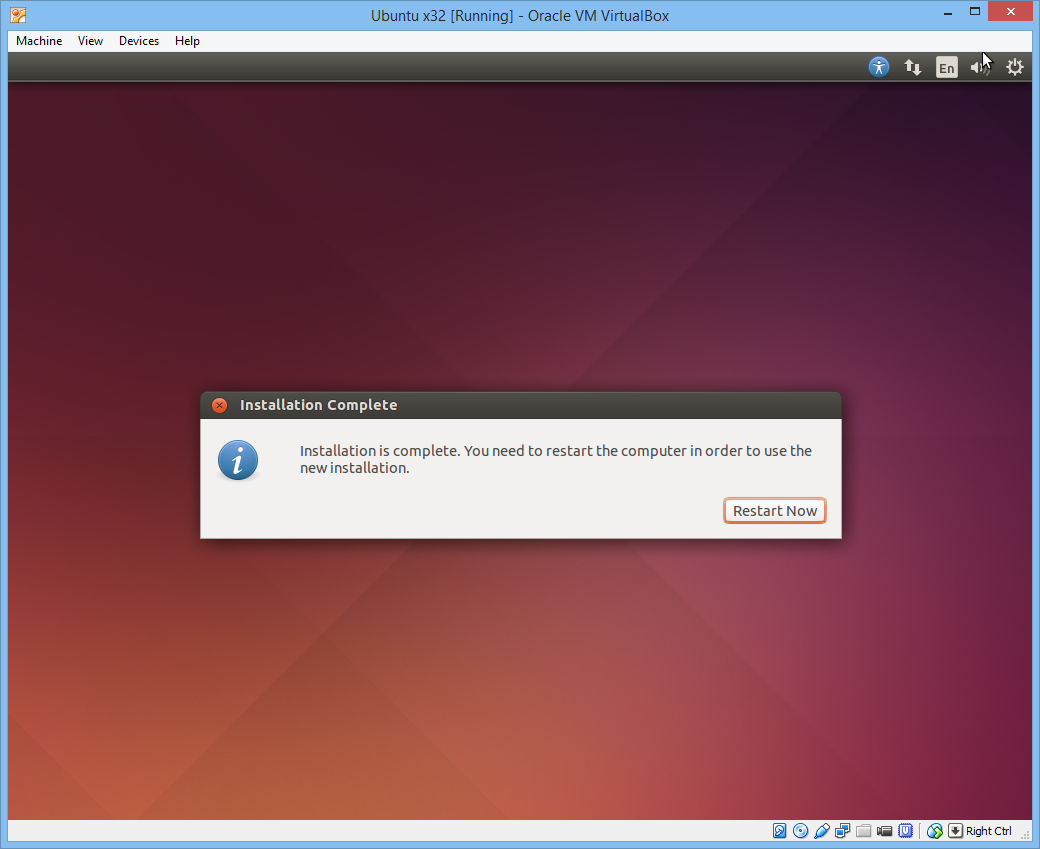 You might see this when it’s rebooting.
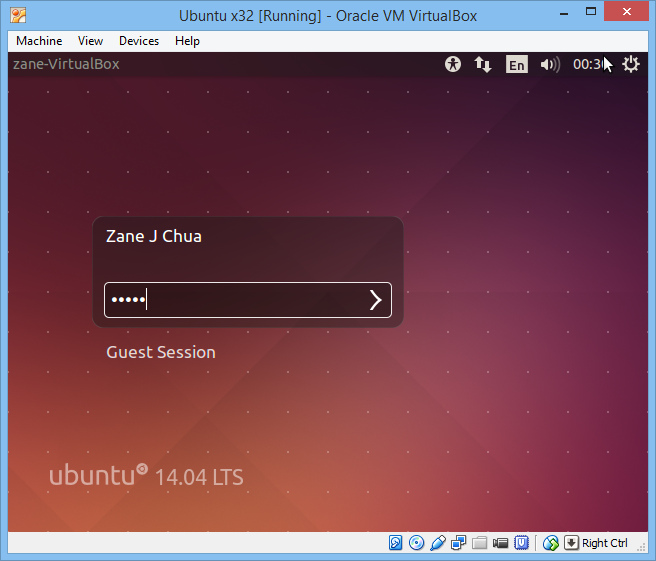
 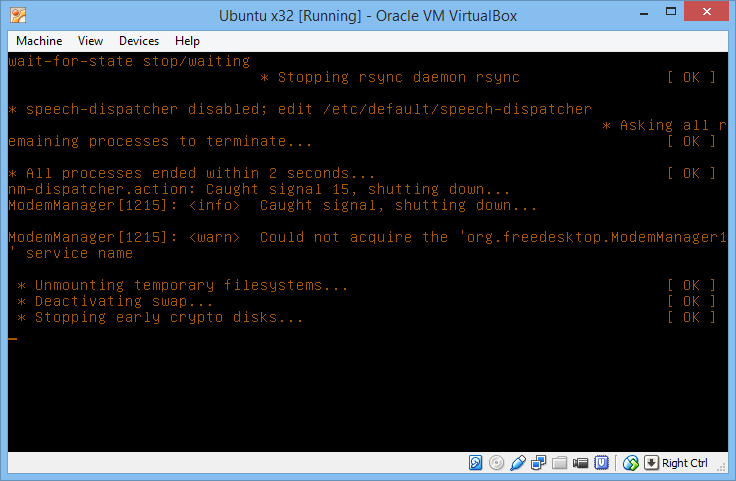 Oh look! We have just installed Ubuntu on your computer. Time to login with the password that you typed above.
 We will need to set-up Guest Additions for Ubuntu to enable some features for VirtualBox. Select the menu below and select Insert Guest Additions CD image….
 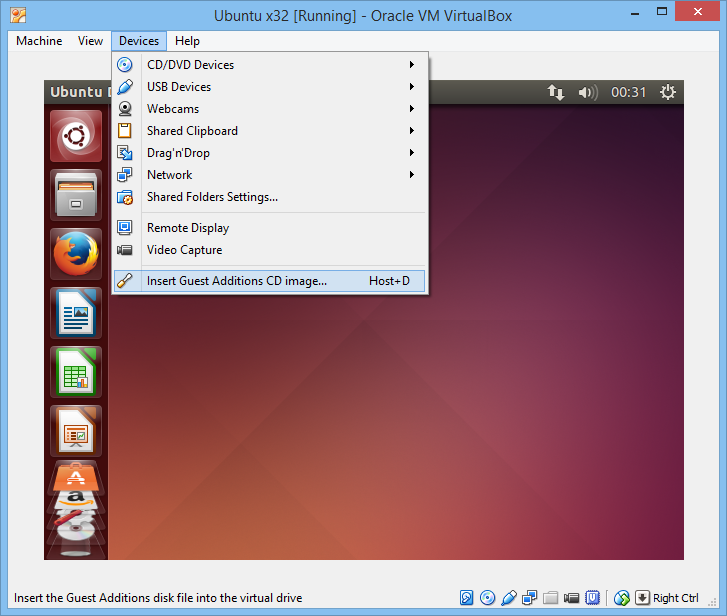 The Guest Additions Image will appear as below and all you have to do is click Run Software.
 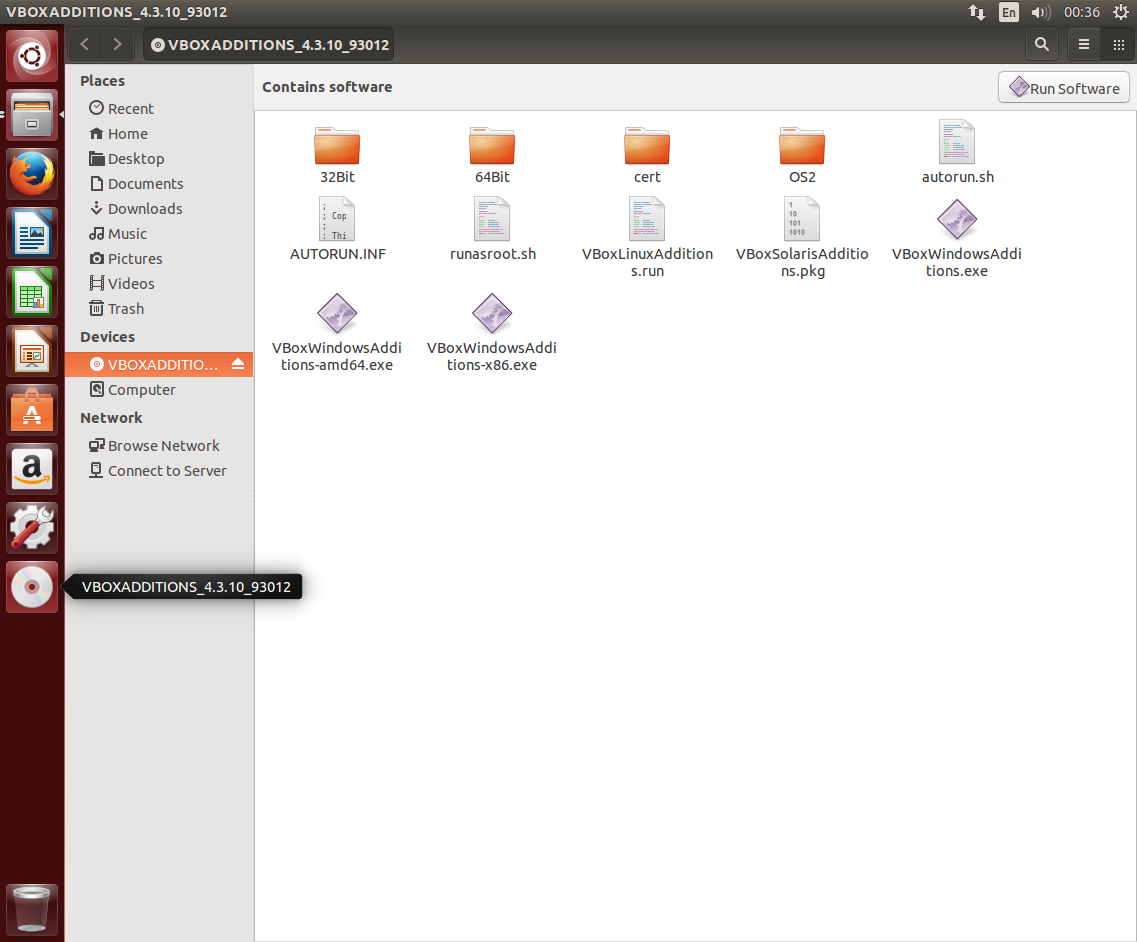 It will give you a warning prompt, just hit Run.
 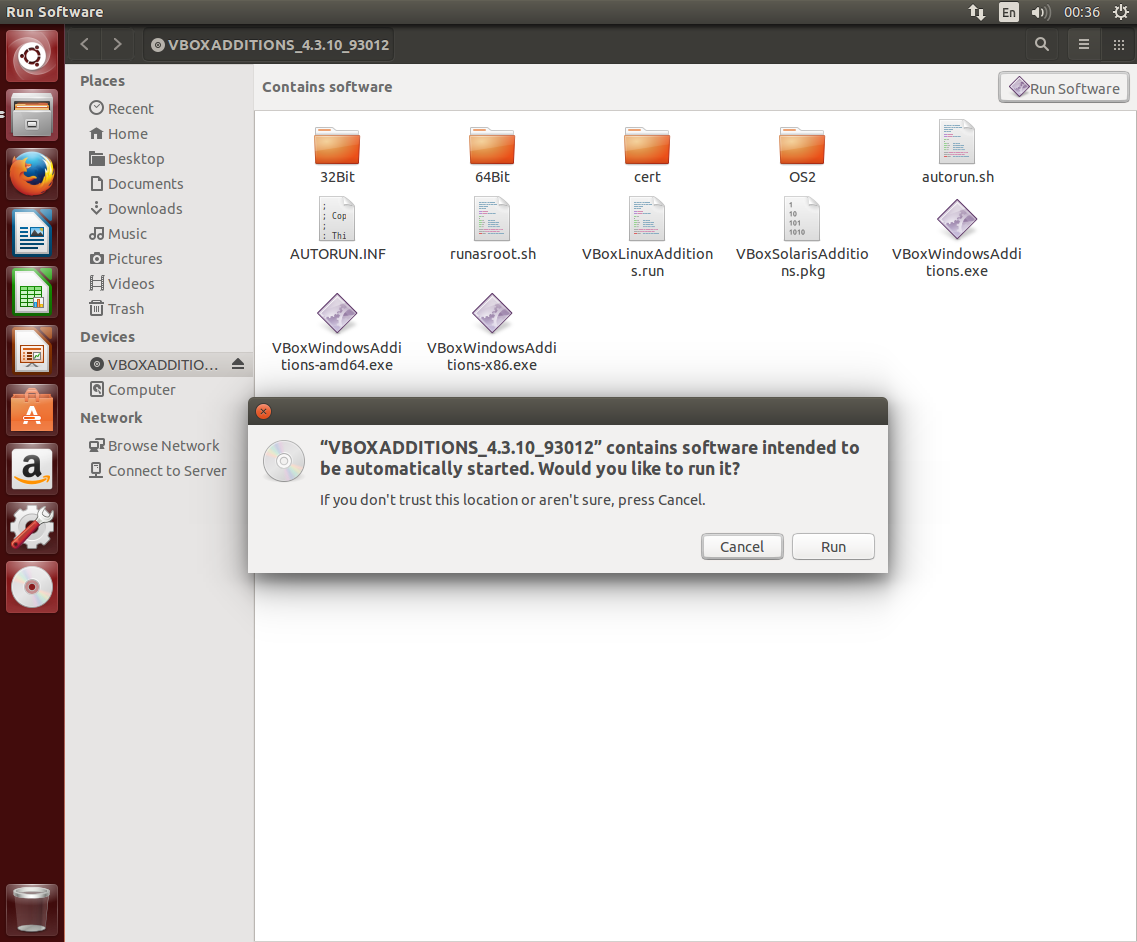 Your password is required again for this.
 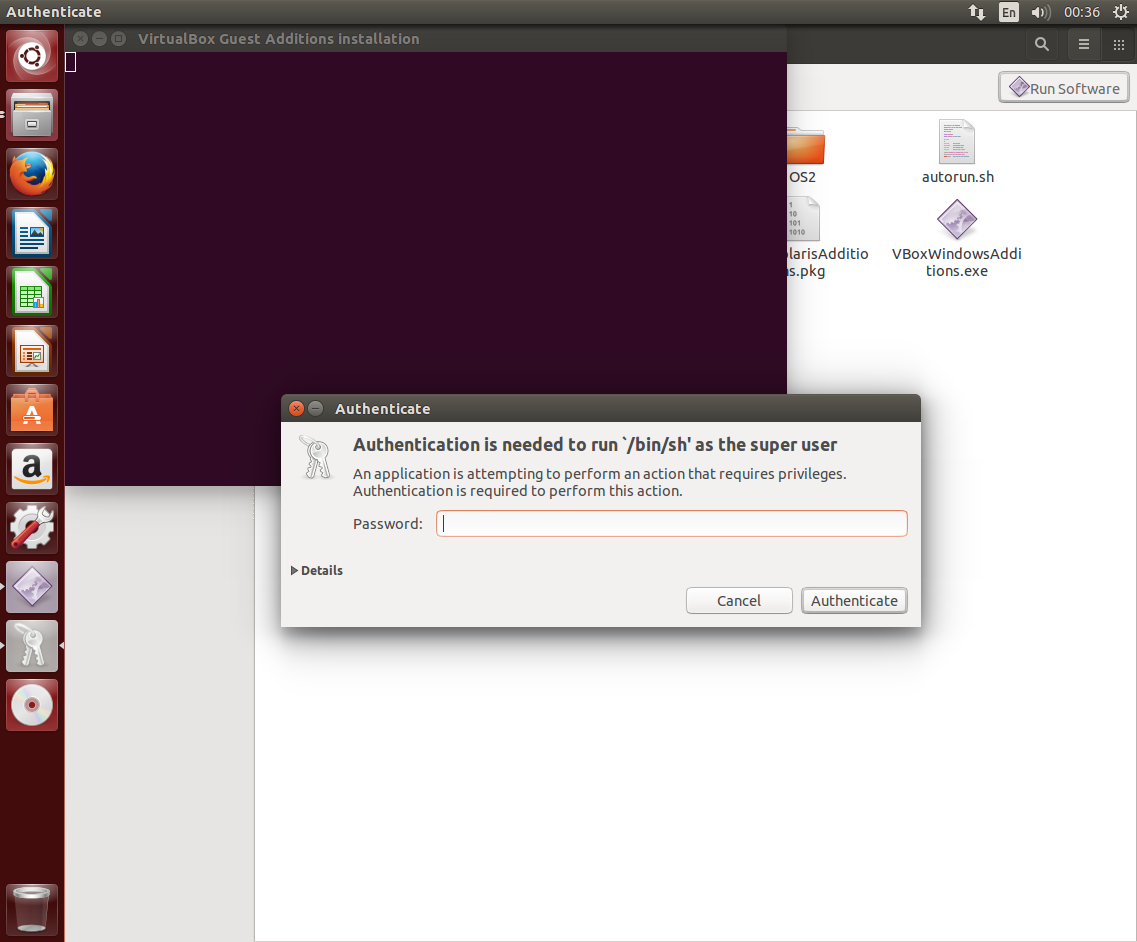 Compiling…
 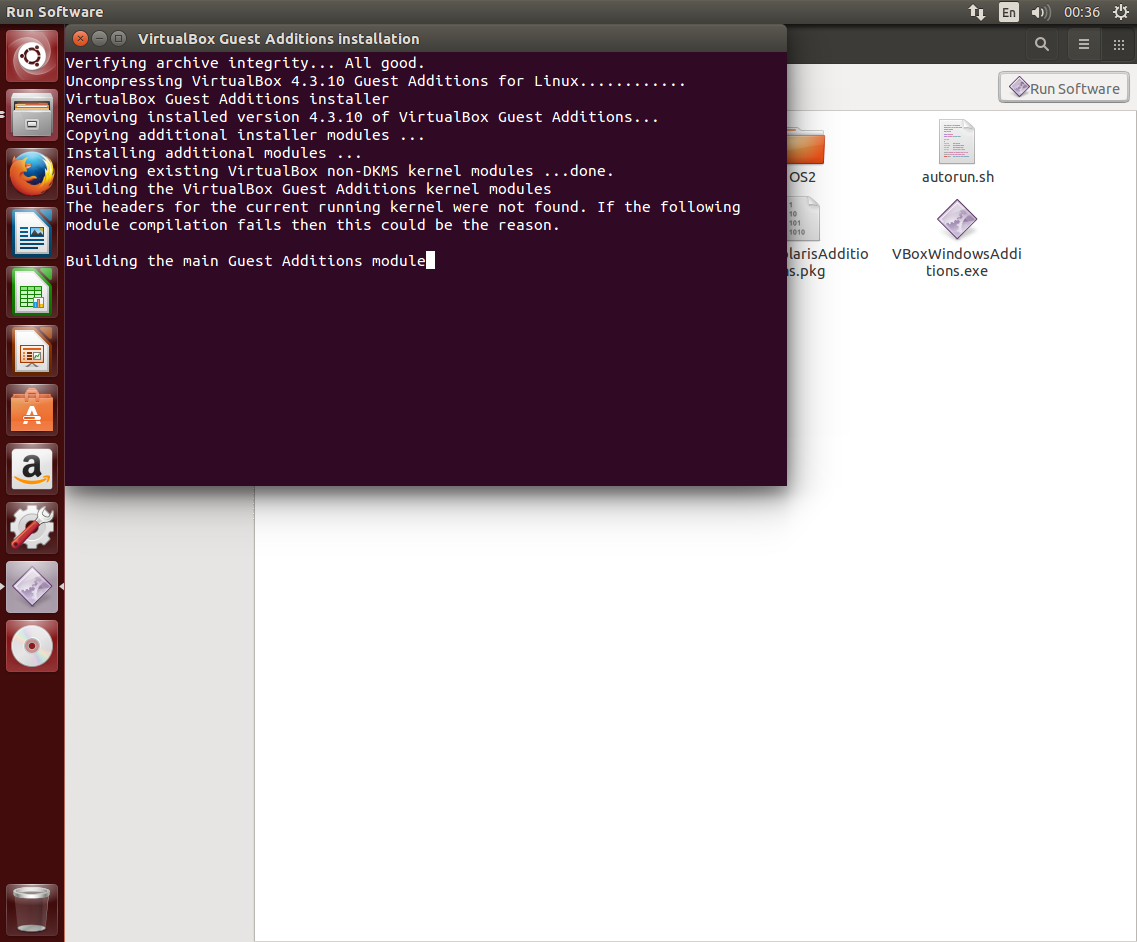 Installation done! Press Enter and it will close the window. We should reboot our Virtual Machine again so at the top right just select reboot.
 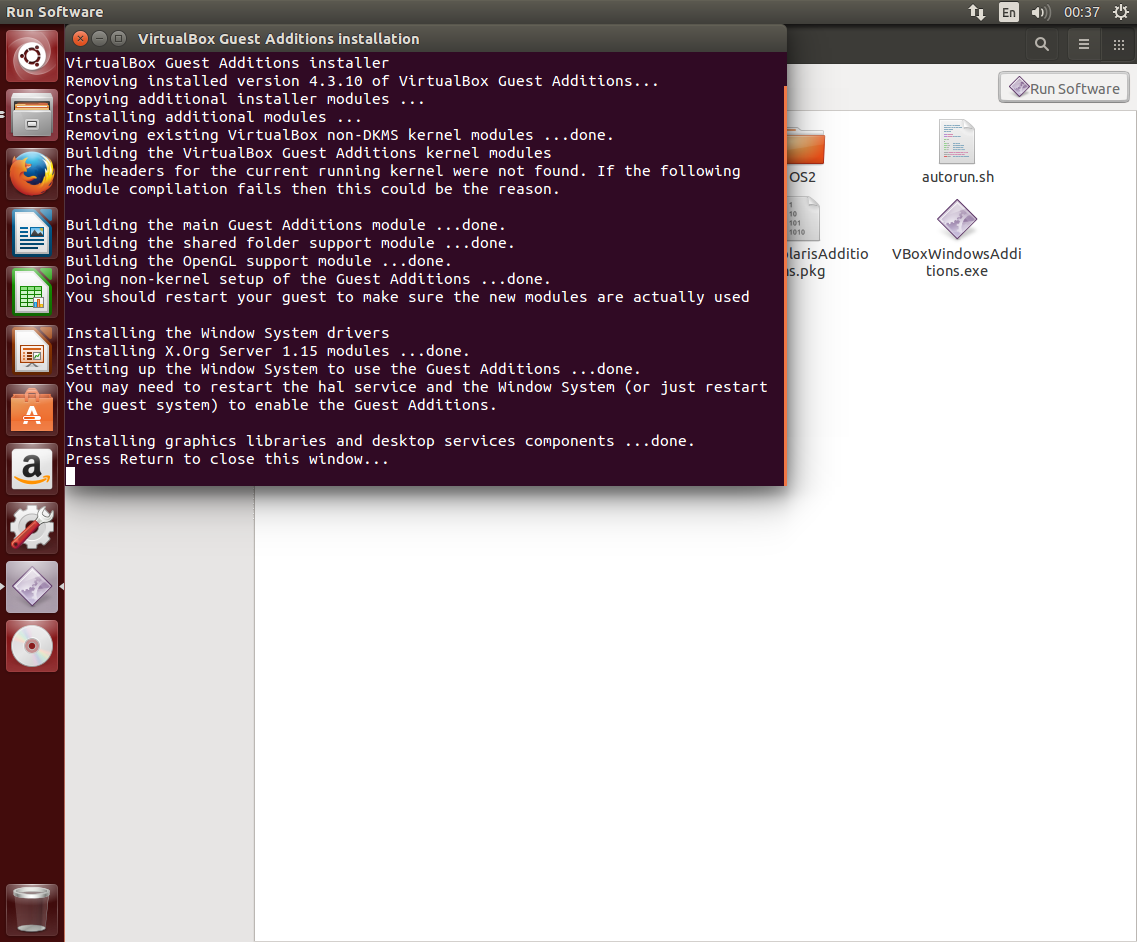 Whew. Wow, that was such a long post with so many images. Hopefully the images helped you along the way to put one leg into the Linux Computing world. Ubuntu is a very popular Linux OS that can be installed on almost every Laptop. Now is the time to play around with Ubuntu, try using the Operating System by itself and see if you can figure out some stuff. I’ll write another follow-up post to this one and explore even more of Ubuntu and perhaps we will start that post off with Installing some packages. Have fun with your new Linux System. If you have any issues, feel free to comment below and I’ll address them there.